Perfect Pumpkin Pie
Published: November 15, 2021 · Modified: October 14, 2023 by Cindy Gibbs
From its smooth texture to its perfectly spiced rich flavor, this Perfect Pumpkin Pie is simply the best!! I make this in a flaky homemade pie crust and serve it with a dollop of whipped cream. This perfect pumpkin pie is an absolute must for your Thanksgiving dessert table!
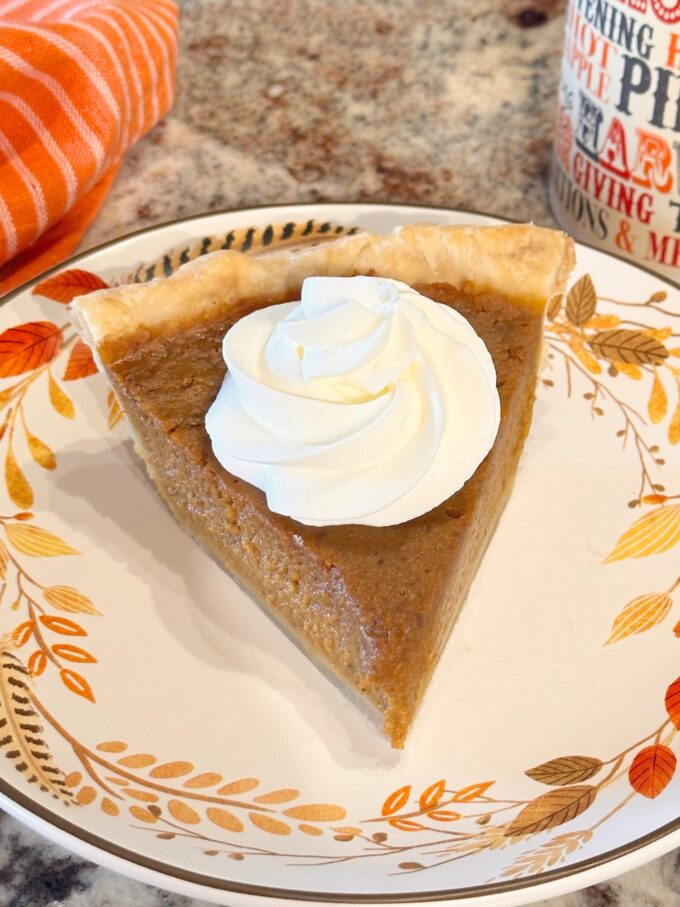
Fall pies are the spice of life…well I think so anyway. I certainly know they are the spice of fall. I don’t know what I love more, fall itself or all the warm spices that come with fall baking. I can never wait to start baking fall recipes and have the aroma of cinnamon, nutmeg, cloves, and ginger wafting through the air.
My biggest problem is trying to decide which fall dessert I like the most, so I guess I just can’t say. What I do know this Perfect Pumpkin Pie is one of my favorites.
Update
I have updated this recipe increasing the amount of spices, some pictures, and adding a new pre baked crust tip.
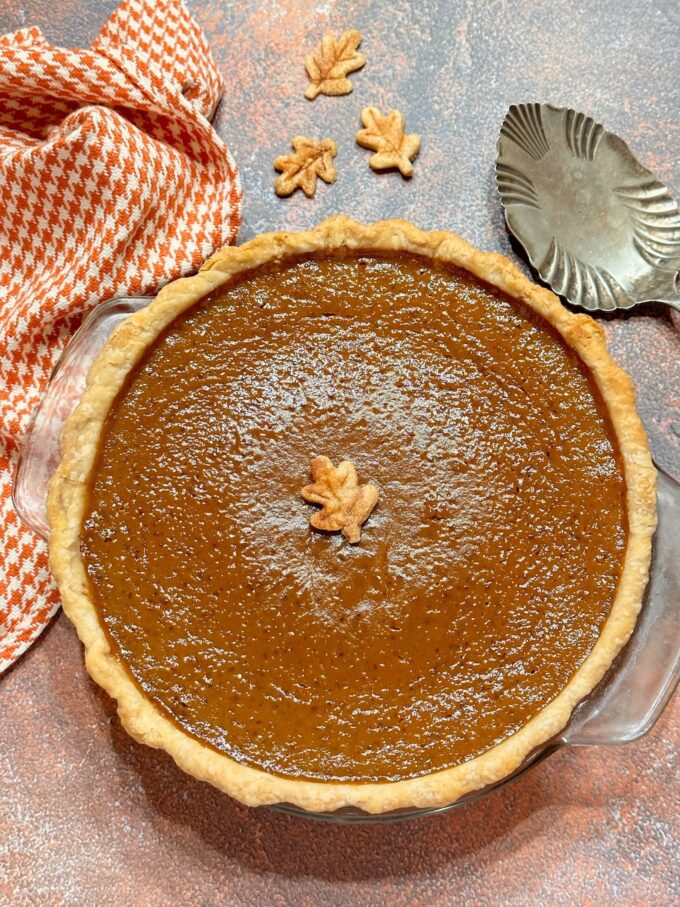
Making Perfect Pumpkin Pie in advance
I don’t know about you, but Thanksgiving is a very busy time for me. Lots of baking, cooking, and entertaining, and if I can find a way to make things easier on myself I’m much happier and less tired. Here are a few tips to make your life easier…
- Bake the pumpkin pie up to 3 months in advance and freeze it. It freezes wonderfully. Make sure to let the pie cool completely, then wrap it in plastic wrap and 2 layers of heavy foil. Thaw it overnight in the refrigerator before serving.
- Bake the pie up to 2 days in advance. Cool completely, cover, and refrigerate. Don’t refrigerate until the pie is completely cooled or it will sweat, and condensation will form on the top.
- You can also make and pre-bake the pie shell a day or two in advance and make the pie filling a day or two in advance. Refrigerate both separately, then pour the filling in the pie crust and bake the day of.
I used my favorite pie crust recipe for this recipe, Aunt Elsie’s Flaky Pie Crust. This pie crust recipe also has the ingredient amounts for both a double crust regular pie crust and a double crust deep dish pie crust. I used the regular pie crust and used 2/3 of the dough for the pie shell and the rest of the dough to make leaves.
Pre-baking the pie crust/Preventing a soggy crust
Some baked pies such as pumpkin and custard, need a little help in making sure the bottom crust gets baked all the way through. There are a few things that will help to ensure this.
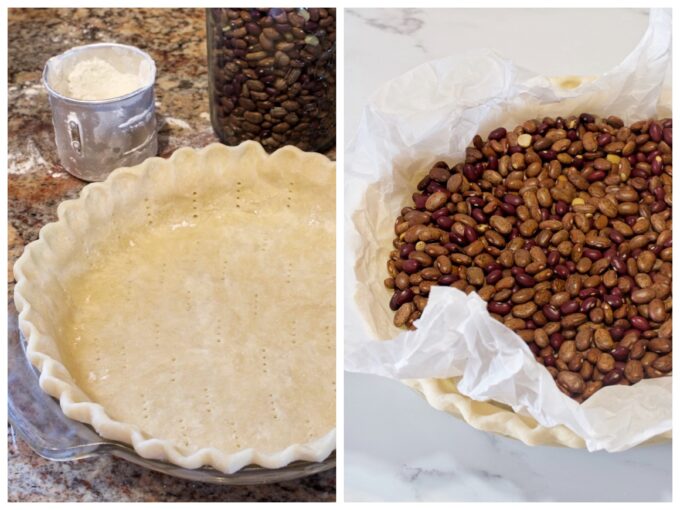
- Partially or fully pre-baking the pie crust for just a few prior to filling it with the pie filling. To do this, you must “dock” the pie crust first, which simply means taking a fork and pricking it all over. This keeps the crust from puffing up as it bakes. By the way, I fully pre-bake mine. It’s up to you, if you prefer to partially or fully bake yours, but I like to fully bake mine, then I cover the edges with foil throughout the entire baking time.
- If you don’t have the extra time to pre-bake your pie crust, place the unbaked pie crust with the filling on the bottom oven rack on a preheated cookie sheet. This helps to brown the bottom crust, faster.
- Baking the pie in a glass pie dish. Glass heats up slowly but it also heats up evenly, and it allows radiant heat to pass through the glass. This results in a nicely browned and crispy (not soggy) pie crust. You can view the bottom and sides of the crust to see how brown the crust is getting. Glass pie dishes are an excellent choice for fruit and custard-type pies.
- If you choose to partially or fully pre-bake the pie crust, once you have “docked” the crust, place pie weights in it. This also keeps the pie crust from puffing up and it prevents shrinkage. You can use beans, rice, or store bought pie weights. Make sure you line the pie crust first with some foil or a piece of crumpled parchment paper, my favorite.
New tip for prebaking the crust!
Here’s another easy way to pre-bake a pie crust. Place a second pie dish inside of the one with the pie shell. The second pie dish needs to be the same size or a tiny bit smaller than the bottom pie dish. You want it to fit pretty snug, so the pie shell doesn’t have any wiggle room to shrink. I just tried this for the first time myself a few days ago. It worked perfect! I used two pyrex pie dishes, the same size.
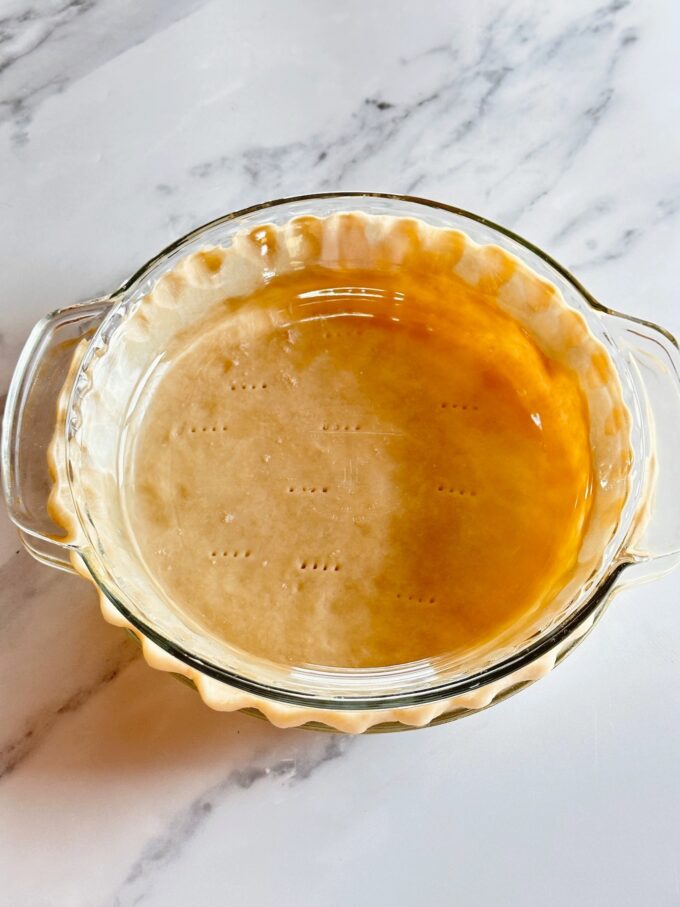

For step-by-step instructions on pre-baking a pie crust click here.
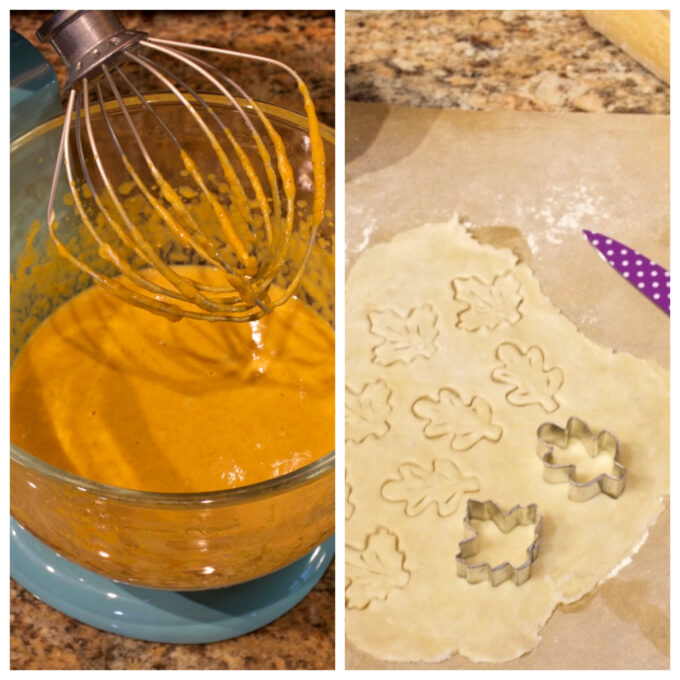
How To Make Pastry Leaves (optional)
I also made some decorative leaves out of my extra pie dough.
Here’s all I did to make the leaves…
- I rolled out some pie dough, as shown in the picture. I rolled the dough pretty thin. They bake up thicker as you can see in the picture below.
- I used a tiny leave-shaped cookie cutter to cut out the leaves. I took the point of a sharp knife and made little veins on the leaves.
- I brushed the leaves with an egg wash made of egg yolk and water, then sprinkled them with cinnamon sugar.
- I baked the leaves on a cookie sheet at 375 degrees, until they were baked through and golden brown.
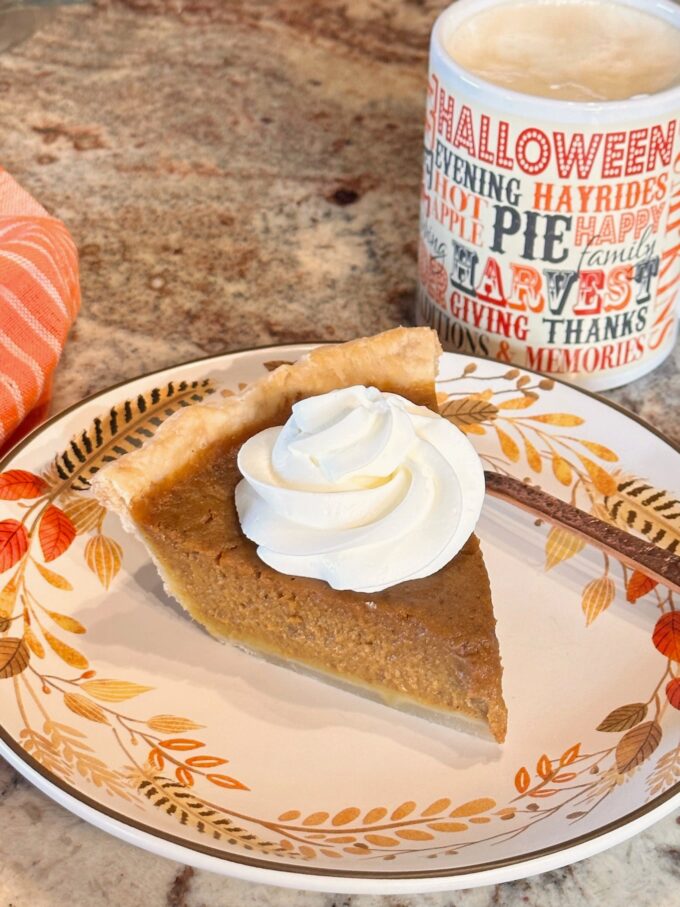
Don’t over bake the pie
Want the perfect pumpkin pie? Don’t overbake it. You want a creamy but sturdy pie filling once the pie has cooled. Bake the pie until the center is just slightly under set. In other words, this pie should be just slightly wobbly and wet-looking in the center of the top. Once you remove the pie from the oven, it will continue to bake for an additional 5 minutes or so as it cools. Therefore, when the pie looks like it needs an additional 5 minutes in the oven, take it out. If you see cracks forming on the top of the pie, you’ve overbaked it.
More fall dessert recipes you might like…
If you make this recipe please rate it below, and leave a comment on how you liked it. I love hearing from you!
Wanna see different recipes each day? Feel free to follow me on Facebook, Pinterest, & Instagram.
Print
Perfect Pumpkin Pie
- Prep Time: 15 minutes
- Cook Time: 40 minutes
- Total Time: 55 minutes
- Yield: 8 servings 1x
- Category: Pie
- Method: Bake
- Cuisine: American
Description
From its smooth texture to its perfectly spiced rich flavor, this Perfect Pumpkin Pie is simply the best!! I make this in an easy homemade pie crust and serve it with a dollop of whipped cream. An absolute must for your Thanksgiving dessert table!
Ingredients
FOR THE PIE CRUST
- Homemade Pie Crust – A double pie crust recipe. Enough for the deep dish pie and decorative leaves. Here’s the recipe I used. Since this is a deep dish pie, you will use about 2/3 of the dough for the standard pie crust on this recipe. You can use the rest for the leaves.
FOR THE PIE FILLING
- 1 can pumpkin puree, 15 ounces (not pumpkin pie filling)
- 1 1/4 cup cups heavy whipping cream or half & half
- 3 large eggs
- 1 cup light brown sugar, packed
- 1/4 cup granulated sugar
- 1/2 teaspoon salt
- 2 teaspoons cinnamon
- 1 teaspoon ground ginger
- 1/4 teaspoon cloves
- 1/2 teaspoon nutmeg
- 1 tablespoon all-purpose flour
FOR THE WHIPPED CREAM (optional)
- 1 cup heavy whipping cream
- 1/4 cup powdered sugar
- 1/2 teaspoon pure vanilla extract
- 1/8 teaspoon nutmeg
Instructions
FOR THE PIE CRUST
- Preheat oven to 375 degrees.
- Partially pre-bake the pie shell. This means partially baking the pie shell to ensure the bottom crust is baked through when the pie is finished baking. If using a store-bought pie shell, thaw for 20 minutes. If using a homemade pie shell, refrigerate the pie shell for 20 minutes. Place a piece of foil or a crumpled piece of parchment paper inside of the pie shell. Add pie weights or beans. Bake for 15 minutes. Remove pie weights and bake 5 more minutes, and remove from oven. Option 2: Fully bake the pie shell. Once you remove the pie weights, place the pie shell bake in the oven for an additional 15 to 20 minutes or until it’s golden brown.
FOR THE PIE FILLING
Raise oven temperature to 425 degrees.
- Add all ingredients to a large mixing bowl. Using an electric mixer mix ingredients on medium speed for approximately one minute until all ingredients are well combined.
- Pour the filling into the parbaked pie shell. Place foil around edges of pie shell to prevent over-browning.
- Bake the pie for 15 minutes at 425 degrees and reduce heat to 350 degrees. Bake for an additional 25 to 30 minutes until pie is slightly wobbly in the center. Note: The eggs will continue to cook in the pie after you remove it from the oven and the center will set as it cools. Baking the pie until the center is totally set is overbaking the pie and cracks will form in the pie.
- Transfer pie to a wire rack to cool completely before refrigerating.
FOR THE WHIPPED CREAM (optional)
- Add the whipping cream to a mixing bowl. Using an electric mixer, mix the whipping cream on medium speed for about one minute until it begins to slightly thicken. Add the powdered sugar, vanilla, and nutmeg. Mix on high speed until soft peaks form, about 30 seconds, or longer if you prefer stiff peaks.
- Refrigerate until serving pie. Place a dollop of whipped cream on each slice of pie when serving.
FOR DECORATIVE LEAVES (optional)
See notes above recipe.
Notes
- Pie can be made up to two days in advance. Place covered in a refrigerator.
- You can make the pie filling a day prior to making the pie. This gives the spices more time to blend and enhances the flavor of the filling.
Notes
- Pie can be made up to two days in advance. Place covered in a refrigerator.
- You can make the pie filling a day prior to making the pie. This gives the spices more time to blend and enhances the flavor of the filling.
- The pie crust can be made the day prior as well, but don’t pour the filling into the pie shell until you’re ready to bake it.
- Pumpkin pie freezes well for up to three months. Thaw overnight in the refrigerator.
