Country Apple Pie
Published: September 9, 2017 · Updated: August 27, 2025 by Cindy Gibbs
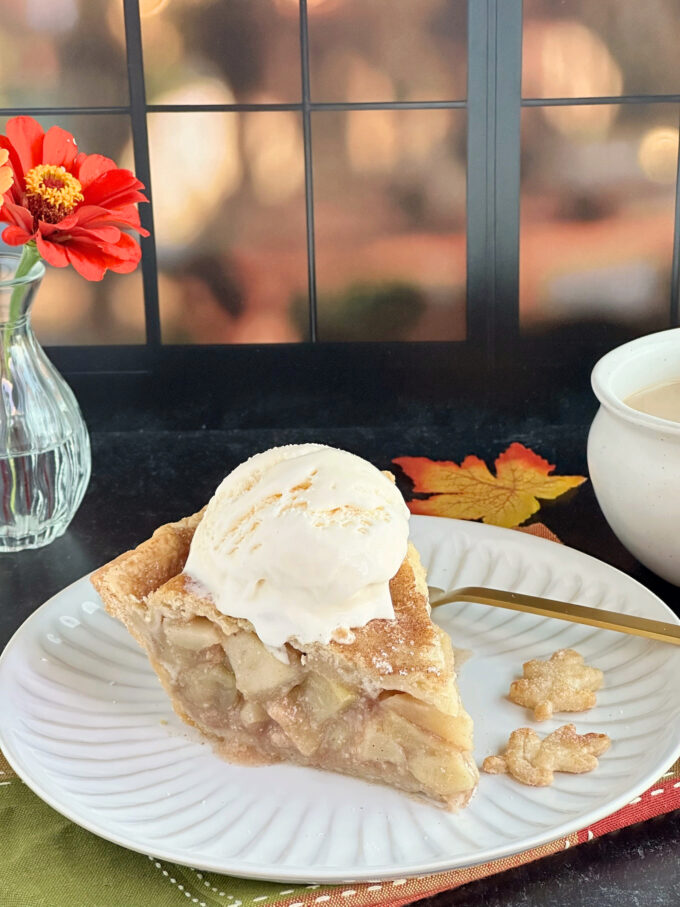
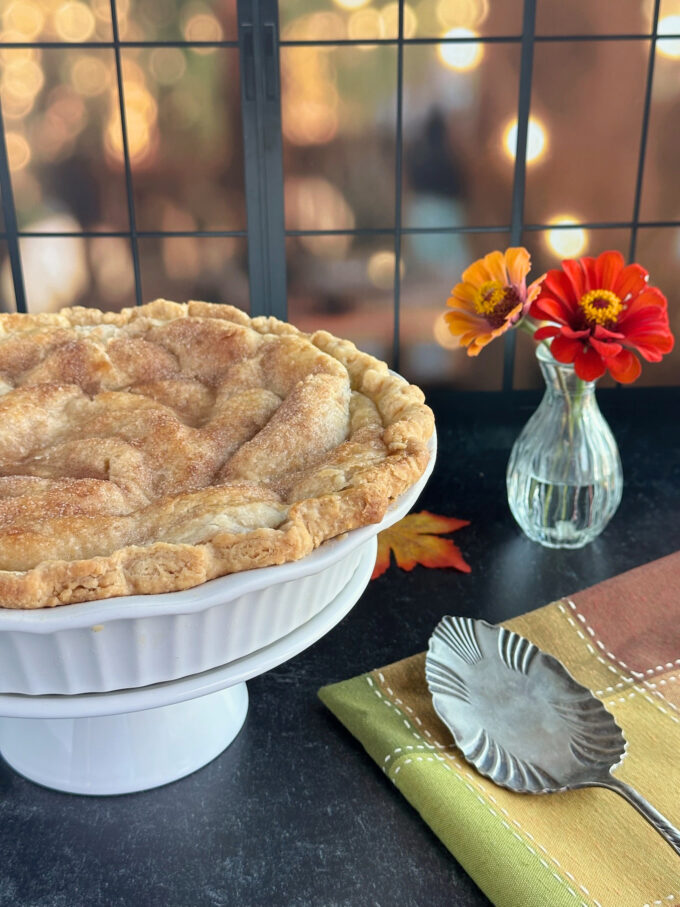
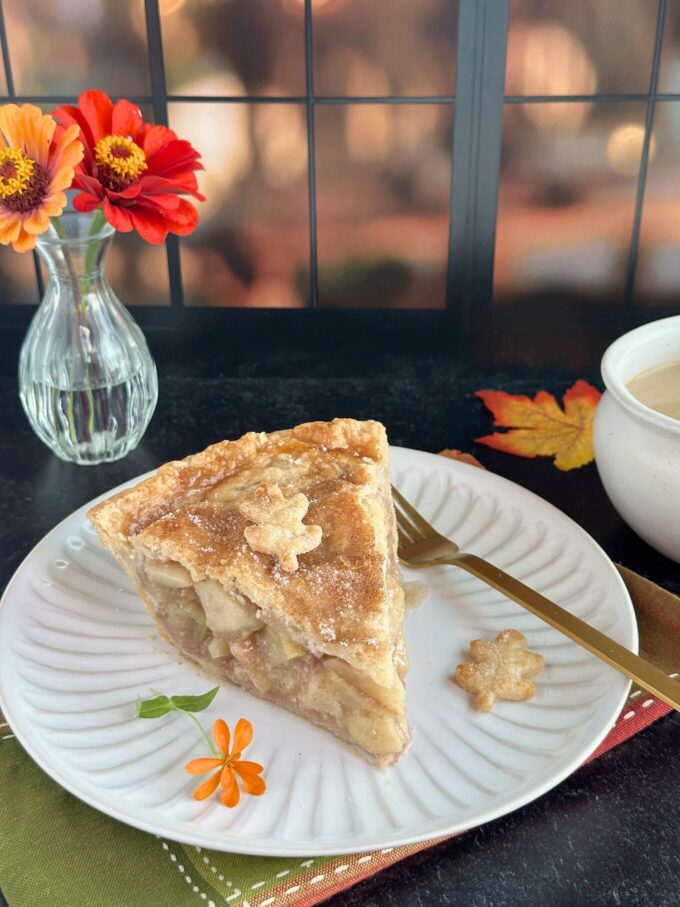
What could announce the arrival of fall more than the aroma of a Country Apple Pie made with fork tender apples, warm spices and a flaky pie crust baking in the oven? A warm slice of it topped with a scoop of vanilla ice cream! Yum!
I can’t think of anything better than the aroma of a homemade apple pie wafting through the air as it’s cooling from the oven. I think it’s the perfect pie to welcome fall. So, if you’re feeling fall vibes, you need to make this scrumptious pie!
When I was a kid, I would ride my horse deep into the woods on a crisp fall day and search for hickory nuts, black walnuts, buckeyes, different colored leaves, and anything else I could stuff into my pockets. I loved the fall smell in the air and all the pretty leaves changing.
Sometimes I would get lucky on those cool, crisp fall days, and come home to the smell of a freshly baked apple pie, cooling in the window. My mom was the best baker and cook! I couldn’t wait until everyone had their piece, so I could go back for seconds. Sometimes I had my first piece warm with a scoop of ice cream on top and my second piece at room temperature with a slice of cheese on top. Yep…we do that sort of thing here in Kentucky.
Years later, I still haven’t forgotten the aroma of my mom’s Apple Pie on those crisp cool fall days, and it’s one of my all time favorites when the fall season arrives. Of course I have many favorite fall desserts, but this one’s at the top of my list, partly for sentimental reasons.
This pie has the perfect amount of warm cinnamon in it, which I’ve increased over the years and the perfect touch of nutmeg. I use crisp, tart Granny Smith apples, a fair amount of sugar, and a drizzle of cream over the apples before adding the top crust.
Ingredients for this recipe
Pie Dough – Use a deep dish double crust pie dough recipe. I use my Aunt Elsie’s flaky pie crust recipe. You can use it or your favorite. You can also use a store bought pie crust if you prefer.
Apples – Use a good baking apple. My favorite are tart Granny Smith apples. You can also used a mix of baking apples such as Fuji or Honeycrisp for a blend of sweet and tart. Peel, core and slice the apples no more than 1/4-inch in thickness. Make sure they are the same thickness so they will bake through at the same time.
Sugar – I use all granulated sugar in this pie. You can add some brown sugar if you like. However, I think the flavor of the apples shine though more when using granulated sugar and some spices.
Spices – Cinnamon, nutmeg and salt. I use cinnamon in this recipe, and over the years I’ve increased the amount. I also use a small amount of nutmeg and salt. Cinnamon and nutmeg are perfect fall spices in a warm apple pie.
All-Purpose Flour – AP flour is used as the thickening agent for this pie.
Half & Half – The half & half blends with the spices and apple juices, resulting in a warmly spiced syrup. If you don’t have half & half, you can also use whipping cream.
No Lemon Juice – That’s right, NO lemon juice. Most apple pie recipes call for lemon juice, when it’s really not needed. The main reason lemon juice is added is to prevent the apples from turning brown, or if you’re using all sweet apples. In this recipe, you don’t peel and slice the apples until the bottom crust is made. They don’t have time to turn brown.

Frequently Asked Questions
Can I freeze unbaked apple pie?
Yes. Make the recipe through step 6. Place the uncovered pie in a freezer until the edges are firm. Wrap the entire pie with two layers of plastic wrap. Finish wrapping with heavy foil. You can also place it in a pie container to make sure other frozen items don’t fall on it. For optimal flavor freeze for no more than two months. Preheat oven to 375 degrees. Bake the frozen pie for approximately 90 minutes, or until bubbly and fork tender when checked with a knife. Use a freezer safe pie dish… Use a pie dish such as pyrex or corning ware. When you remove the frozen pie from the freezer, allow it to sit on a counter while the oven preheats. Do not place it in the oven before preheating it either. Leave it on a counter until the oven preheats. Do not brush the pie with an egg wash or sprinkle with sugar before freezing. It will cause the crust to be soggy. Wait until you get ready to bake it.
Can I freeze baked apple pie?
Yes. Allow the pie to cool completely. Wrap the pie with several layers of plastic wrap, then heavy foil. You can also place it in a pie container. Make sure the pie dish is freezer safe. Freeze for up to 2 months. Thaw overnight in the refrigerator. Heat in a 350 degree oven until heated through. See note above on freezer safe pie dishes.
How to Make this recipe
Make the pie dough (or use store bought)
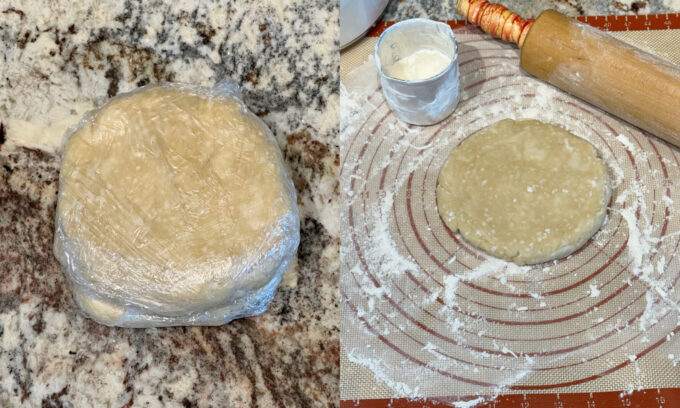
Make the pie dough, form into two disc and wrap in plastic. Chill for at least 30 minutes. Remove one disc from the refrigerator and roll out into a 12 inch circle.

Transfer the dough to a deep dish 9-inch pie dish. Trim and leave a 1/2 inch over hang. Turn the edge under or leave it hand over until you place the top crust on. Then you’ll mesh the two together.
Make the pie filling
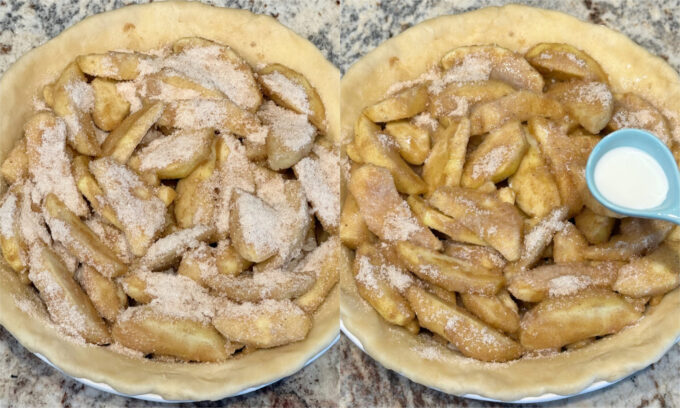
Peel and slice the apples, no more than about 1/4 inch in thickness. Add them to a large bowl. Mix up the sugar spice mixture and pour it over the apples. Use your hands to mix the sugar mixture into the apples. Transfer the apples to the pastry lined pie dish, and drizzle the half & half over them.
Roll out the second crust and place over the apples. Trim the top crust, leaving a 1/2 -inch over hang. press the top and bottom crust together and flute the edge or crimp with a fork.
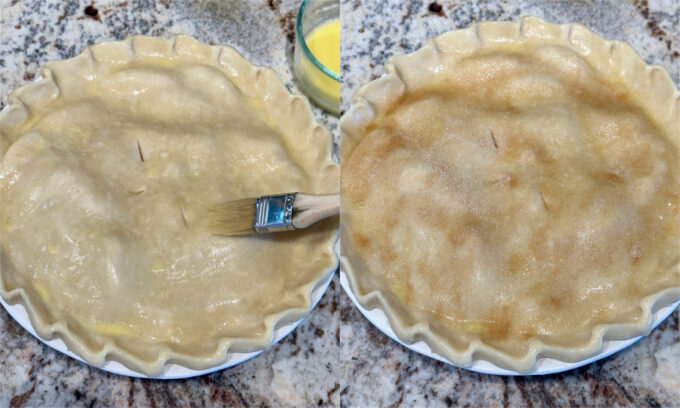
Brush the top with egg wash and sprinkle sugar and cinnamon over the top.
Pie Crust Shield Tip
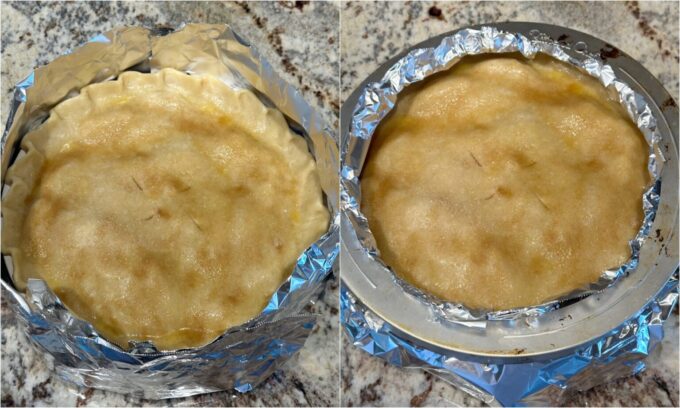
Trust me when I say I’ve used every kind of pie shield that has ever been made, and I’ll admit that I’ve been known to throw one or two straight into the garbage can. They are great for fitting one size pie dish but not another, or for turning a beautifully formed fluted edge into a deformed flattened edge. My conclusion…the best shield is good ‘ole aluminum foil! I have a couple of easy options.
Option 1: Buy the cheapest flimsy aluminum foil you can find, not heavy duty. I find it at the dollar store and it’s perfect. Tear off long strips about four inches wide. Place pieces together around the pie crust by stapling the end pieces together. That’s right! Staple them!! After you staple them, slightly bend the foil inward towards the center of the pie. You can form the foil around the pie edges allowing for extra room around pie dish handles and it won’t mess up the edges. It’s light weight! Then, you can place a pie shield over it, if you prefer, to help secure the foil.
Option 2: Place a large piece of foil under the entire pie dish, big enough to bring it up the sides and at least 1-inch over the edges. This option will catch any drippings that bubble over on fruit pies. Honestly though, I prefer option #1 myself.
More delicious apple recipes…
If you make this recipe please rate it, and leave a comment below on how it turned out. I love hearing from you.
Wanna see different recipes each day? Feel free to follow me on Facebook, Pinterest, & Instagram.
Print
Country Apple Pie
- Prep Time: 30
- Cook Time: 50
- Total Time: 80
- Yield: 8 slices 1x
- Category: Pies
- Method: Bake
- Cuisine: American
Description
This Country Apple Pie starts with crisp, tart Granny Smith apples that are coated with a warm spice mixture of cinnamon, nutmeg, and sugar. Then it gets a drizzling of cream and baked to tender perfection. All it need is a scoop of ice cream!
Ingredients
- 1 double crust deep dish pie crust
- 1 cup sugar
- 1/4 cup plus 1 tablespoon all purpose flour
- 1/2 teaspoon nutmeg
- 1 3/4 teaspoons cinnamon
- 1/8 teaspoon salt
- 6 cups peeled & sliced Granny Smith apples, about 5 large
- 3 tablespoons half & half or heavy whipping cream
- Cinnamon, sugar & pie wash for garnishing crust
Instructions
- Preheat oven to 425 degrees.
- Prepare the pie crust. Roll out the bottom crust and fit into a 9″ deep dish pie dish.
- In a small bowl, whisk together the sugar, flour, nutmeg, cinnamon and salt and set aside.
- Peel and slice the apples into thin slices, no more than 1/4″ thick and add to a large bowl. Add the dry ingredients and mix with a large spoon, spatula or your hands until all of the apples are coated with the dry mixture. Turn the apples into the pastry lined pie dish. Drizzle the half & half or cream over the apples.
- Roll out the bottom crust and place over the top. Trim the crust to about 1/2″ past the edge of the pie dish. Fold the edge of the top crust over and under the edge of the bottom crust and slightly press the two together. Flute the edges or use a fork and crimp the edges. Using a sharp knife, cut 4-5 slits in the top crust for venting.
- Brush the top crust with a pie wash, such as egg yolk and water, followed by a sprinkling of sugar or cinnamon and sugar mixed.
- Place strips of 2″ deep foil around the pie edges and staple the ends together. Fold the top of the foil in slightly. Place pie on an old cookie sheet and bake for approximately 45 minutes to 1 hour until the apples are very tender when you insert a knife through one of the slits.
- Cool pie for at least 20 minutes before serving.
- Serve warm with ice cream or with a slice of Cheddar cheese.
Notes
- Always place fruit pies on an old cookie sheet when baking. Fruit pies have a way of bubbling over.
- Pie can set out of the refrigerator for at least one day. I like to bake it the day before serving and leave it at room temperature. Refrigerate for up to 4 days.
This country apple pie looks absolutely delicious! I love how you captured the warmth and comfort of homemade desserts. Can’t wait to try your recipe and smell that sweet aroma filling my kitchen!
This Country Apple Pie recipe looks absolutely delicious! I love how you’ve shared your family memories tied to it—it makes it feel so special. Can’t wait to try it out this weekend! Thanks for the lovely post!
This Country Apple Pie recipe looks absolutely delicious! I love the flaky crust and the hint of cinnamon you added. Can’t wait to try this out for our family gathering! Thank you for sharing!