Apple Hand Pies
These delectable Apple Hand Pies feature a warmly spiced apple filling tucked inside flaky rounds of pie crust. They are even better with a drizzling of caramel. They’re a perfect fall dessert!
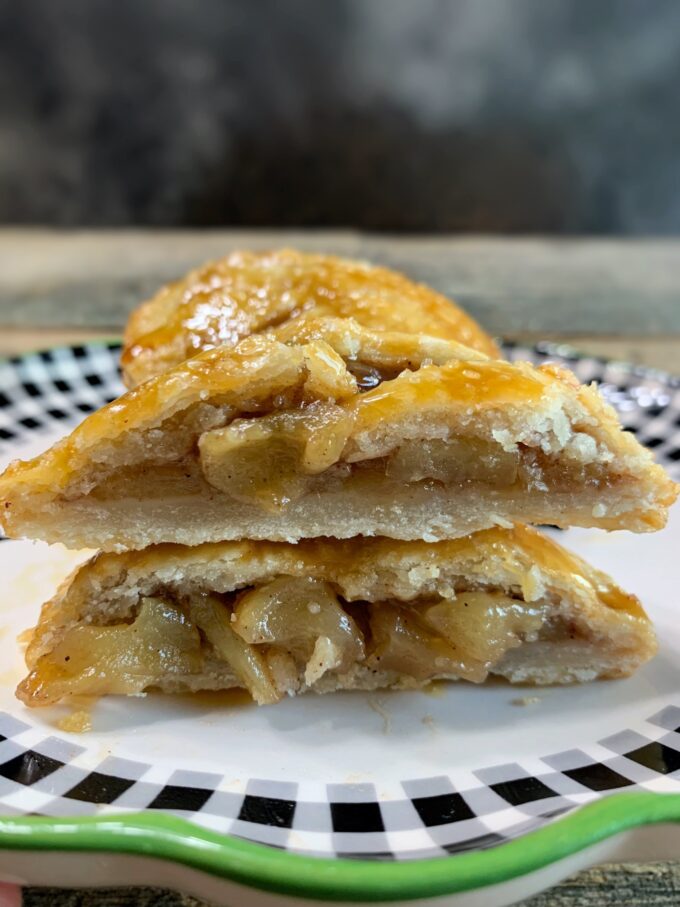
I’m a lover of all fruit pies, especially apple, and to me apple desserts with warm spices simply go hand in hand with fall weather. I’ve made a slew of apple pies in my time, but I decided it would be fun to make these cute little individual apple hand pies and leave them on the doorsteps of certain family members on a cool fall day!
The apple pie filling
My recipe for apple hand pies starts with a fried apple filling. That’s right. With most apple pies, the raw apple filling is baked along with the pie crust in an oven. I figured the crust for these mini pies would bake up rather quickly since they’re small, and I wanted to make sure the apples were very tender when the crusts were baked through. I’ve made fried apples a zillion times and knew they took no time to make so I opted for a fried apple filling.
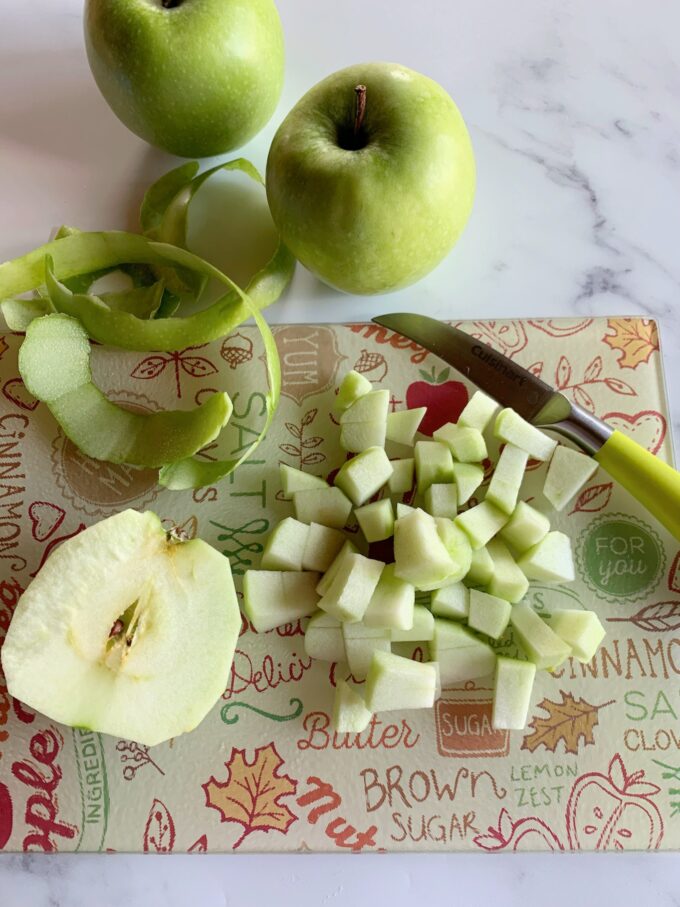
I usually cut my apples in thick slices when frying them for breakfast. However, for this recipe, I recommend cutting them into small bite-size chunks so you can fit more of them in the pies.
Filling Ingredients
- 3 tablespoons unsalted butter
- 1/3 cup light brown sugar, packed
- 1/3 cup granulated sugar
- 1 tablespoon cornstarch
- 1 1/4 teaspoons cinnamon
- 1/4 teaspoon nutmeg
- 3 large apples, peeled, cut into bite-size pieces, (about 4 cups, diced)
Filling Instructions
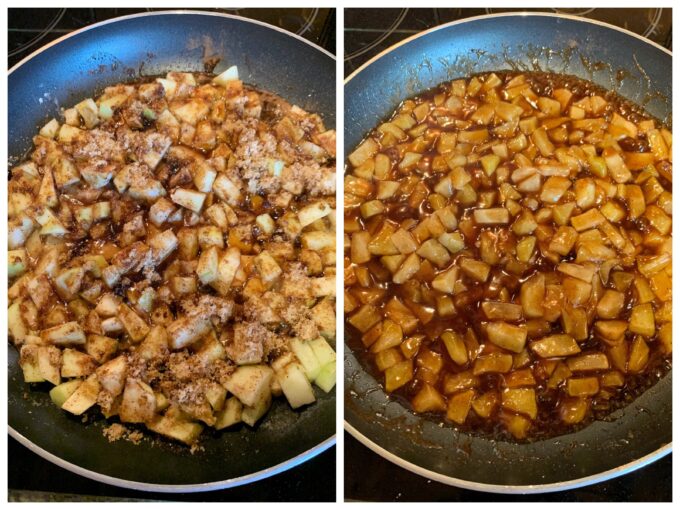
Melt the butter in a large skillet over medium heat. Combine the sugars, cornstarch, cinnamon, and nutmeg in a small bowl. Add the dry mixture and the apples to the skillet, gently turn the apples over with a spatula to ensure they are all coated with the spice mixture. Turn the heat to medium-low and cover with a lid. Simmer for about 5 minutes until the apples are semi tender. Remove from heat and transfer the filling to a medium bowl. Place the bowl in the freezer for about 10 minutes to cool the filling. Note: You don’t want to place warm filling on the pie dough, or the dough will become too warm to work with before you finish crimping the edges of the hand pies.
Making the pie dough
You can use your favorite double-crust pie crust recipe for the pies, or you can use mine, Aunti Elsie’s Flaky Pie Crust recipe. Below are my tips for making and rolling out my pie dough recipe:
- Refrigerate the dough as the recipe directs. The dough needs time to relax and chill.
- Don’t roll the dough too thick. Roll it no more than 1/8-inch in thickness. Remember, you’ll have a top and bottom crust. You don’t want them too thick or you’ll have a lot bigger crust to filling ratio.
- Once the round dough discs are cut, place them on a cookie sheet and re-chill them for a few minutes.
- Use a round cookie cutter that is no smaller than 3.5-inches in diameter. Anything smaller, and you won’t be able to put enough filling in the pie.
- Use cold (refrigerated) solid shortening and ice water.
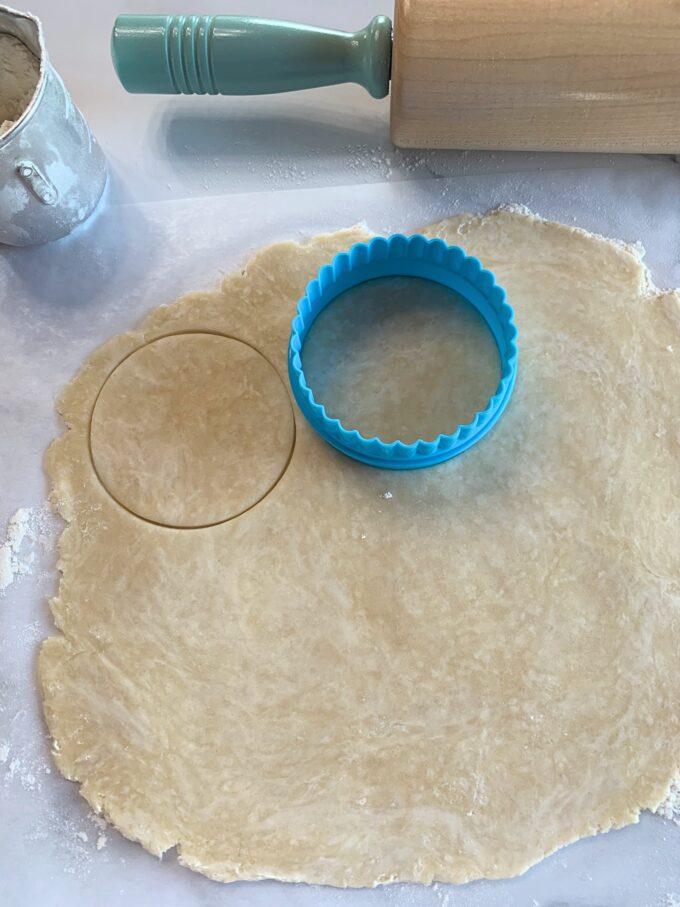
Pie crust instructions
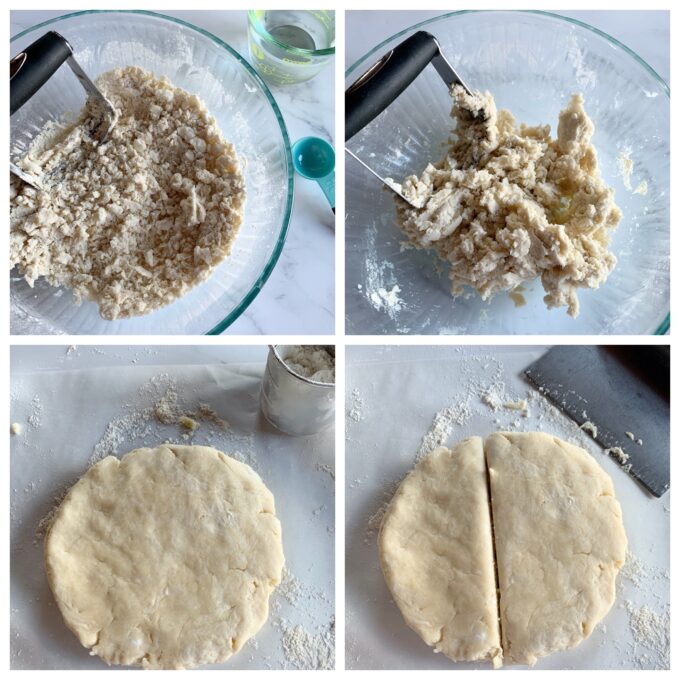
First, prepare my pie crust recipe through step 3. Make sure you chill the dough for at least 1/2 hour, preferably longer if you have the time. It should have plenty of time to chill while you’re preparing and cooling the apple filling.
Rolling out pie dough: Start by removing only 1 of the pie dough disc from the refrigerator, until you’re ready for the second one. On a lightly floured work surface, roll the dough out, turning one-quarter turn after each roll. This keeps it from sticking to the surface, and sprinkling additional flour on the work surface as needed. Roll the dough out to a thickness of 1/8-inch, (no thicker), and about 12-inches or so in diameter. Using a 3 1/2-inch round cookie cutter, cut out rounds of pie dough, gathering up dough scraps and re-rolling them. Place the dough rounds on a parchment-lined cookie sheet. Once the cookie sheet is full, place it in the fridge and line a second one. Repeat instructions for the second disc of dough. You should end up with 18 cut-out rounds of dough. Refrigerate both pans until the dough is chilled again. Use a fork and cut 2 to 3 slits in half of them. These will be the top crusts. This is important so that the steam can escape while they are baking.
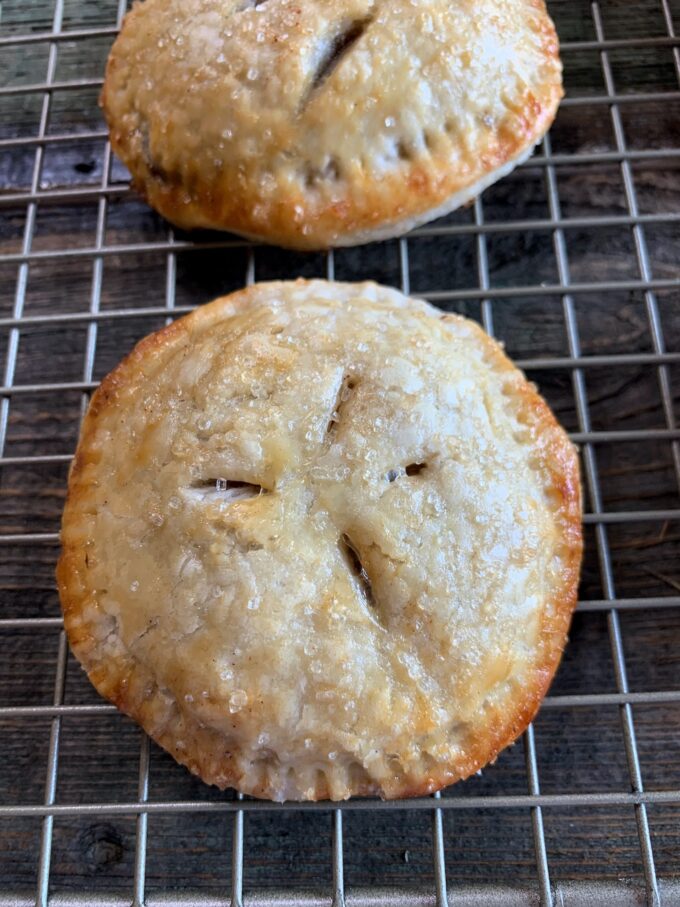
Optional: Caramel drizzle
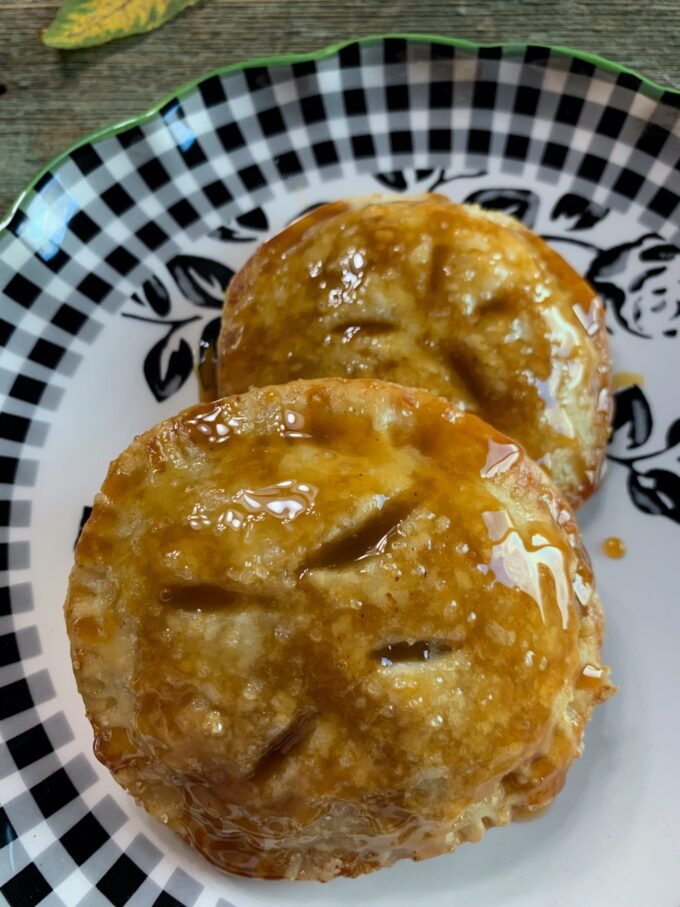
The caramel is optional but SO good! I used a store-bought caramel dessert topping. You can too or you can make your own. I was lazy!
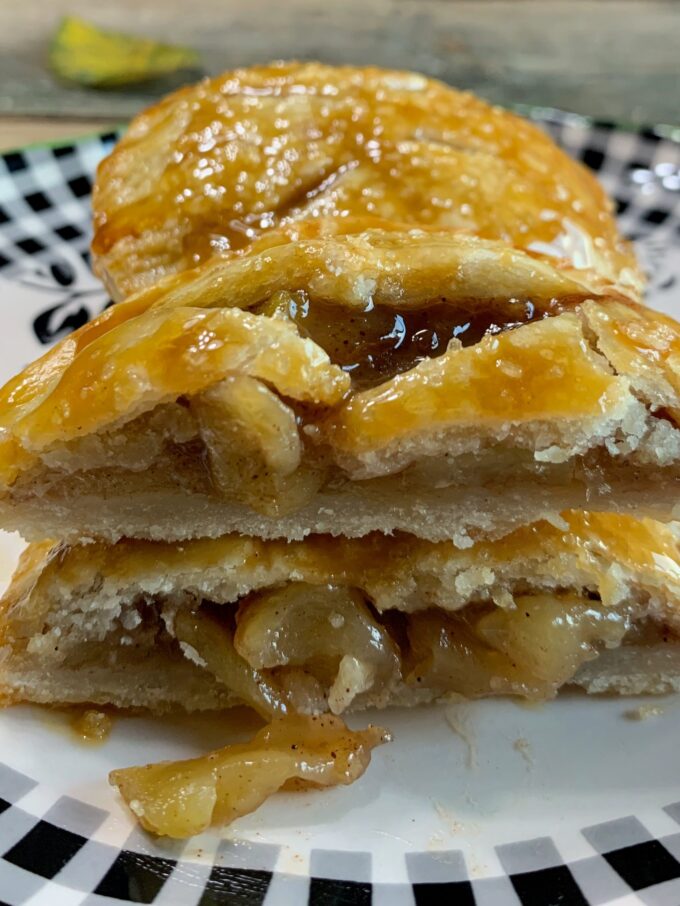
If you want a thick caramel drizzle, place the caramel in a freezer for a few minutes. I purposely poured room temp caramel over my pies, because I wanted it to soak into the pies and it sure did.
More apple desserts you might like…
Gluten-free Cinnamon Sugar Apple Cake
If you make this recipe please rate it, and leave a comment below on how you liked it. I love getting your feedback! 🙂
Wanna see different recipes each day? Feel free to follow me on Facebook, Pinterest, & Instagram!
Print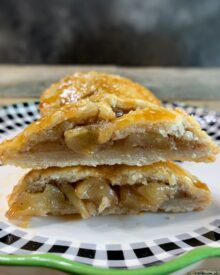
Apple Hand Pies
- Prep Time: 1 hour
- Cook Time: 30 minutes
- Total Time: 1 hour 30 minutes
- Yield: 9 (3.5-inch) hand pies 1x
- Category: Pies/Desserts
- Method: Bake
- Cuisine: American
Description
These delectable apple hand pies feature a juicy warmly spiced apple filling tucked inside flaky rounds of pie crust. They are even better with a drizzling of caramel.
Ingredients
- Homemade double pie crust
- 3 tablespoons unsalted butter
- 1/3 cup light brown sugar, packed
- 1/3 cup granulated sugar
- 1 tablespoon cornstarch
- 1 1/4 teaspoons cinnamon
- 1/4 teaspoon nutmeg
- 3 large apples, peeled, cut into bite size pieces, (about 4 cups, diced)
Egg wash: 1 large egg and 1 tablespoon milk, whisked together
Optional: Coarse sugar
Optional: Caramel dessert topping, store-bought or homemade
Instructions
- Crust: Prepare my pie crust recipe through step 3. Make sure you chill the dough for at least 1/2 hour, preferably longer if you have the time. It should have plenty of time to chill while you’re preparing and cooling the apple filling. See instructions below on finishing the pie crust, step #3.
- Filling: Melt the butter in a large skillet over medium heat. Combine the sugars, cornstarch, cinnamon, and nutmeg in a small bowl. Add the dry mixture and the apples to the skillet, gently turn the apples over with a spatula to ensure they are all coated with the spice mixture. Turn the heat to medium-low and cover with a lid. Simmer for about 5 minutes until the apples are semi tender. Remove from heat and transfer the filling to a medium bowl. Place the bowl in the freezer for about 10 minutes to cool the filling. Note: You don’t want to place warm filling on the pie dough, or the dough will become too warm to work with before you finish crimping the edges of the hand pies.
- Rolling out pie dough: Start by removing only 1 of the pie dough disc from the refrigerator, until you’re ready for the second one. On a lightly floured work surface, roll the dough out, turning one-quarter turn after each roll. This keeps it from sticking to the surface, and sprinkling additional flour on the work surface as needed. Roll the dough out to a thickness of 1/8-inch, (no thicker), and about 12-inches or so in diameter. Using a 3 1/2-inch round cookie cutter, cut out rounds of pie dough, gathering up dough scraps and re-rolling them. Place the dough rounds on a parchment-lined cookie sheet. Once the cookie sheet is full, place it in the fridge and line a second one. Repeat instructions for the second disc of dough. You should end up with 18 cut out rounds of dough. Refrigerate both pans until the dough is chilled again. Use a fork and cut 2 to 3 slits in half of them. These will be the top crusts. This is important so that the steam can escape while they are baking.
- Preheat oven to 375 degrees while you’re filling the hand pies. Line two cookies sheets with parchment paper.
- Filling hand pies: You should have enough rounds for 9 whole hand pies. Place 5 solid rounds on one cookie sheet and 4 on a second one, spacing them 2-inches apart. Drop about 2 scant tablespoons of filling, (no more) in the center of each one. Place a dough round with slits on top of each one. Run your fingers around the edges to seal the top and bottom dough rounds together, then crimp them with a fork. If some of the filling oozes out it’s okay. Just wipe it away with your finger.
- Apply egg wash: Brush each hand pie with the egg wash, then sprinkle with coarse sugar.
- Bake the pies for about 30 minutes or until the crust is golden brown, rotating the two pans halfway through baking. Remember, the apples were partially cooked beforehand so don’t worry about the apples being done. They will be! Allow the pies to cool for about 3 minutes on the cookies sheets and transfer them to a wire cooling rack to finish cooling.
- Optional: Drizzle caramel topping over the top of the pies. If you want a thick caramel drizzle, place the caramel topping in the freezer for a few minutes. I wanted mine thin so it would actually soak into the pies so I opted for room temperature caramel topping.
- Wrap and referigerate leftovers for up to 4 days.
Notes
- You can make both the filling and pie dough the day before and refrigerate them, then finish the recipe the next day.
- I used caramel dessert topping from a jar in this recipe. I purposely left it at room temperature, because I actually wanted the caramel to soak into my hand pies. If you want thick caramel, place the caramel in the freezer for at least 15 minutes prior to drizzling it over the pies.
- When rolling out the dough, try not to roll it any thicker than 1/8-inch. You’ll be using two rounds of dough for each hand pie, so keep it thin or you’ll be eating more crust than filling.
- I used a 3 1/2-inch round cookie cutter for these hand pies. Don’t use anything smaller or you won’t have room for enough filling. If you don’t have a round cutter, you can use a rectangular one. Alternately, you can use a small plate. Invert it onto the rolled-out dough. Run a sharp knife around the plate and gently run a metal spatula under the dough to lift it. The number of hand pies you end up with will depend on the size plate you use.
- Freezing: Baked pies (without caramel drizzle) can be wrapped and frozen for up to 3 months. Thaw overnight in the refrigerator then bring to room temperature before serving. Unbaked assembled hand pies can be frozen for up to 3 months. No need to thaw. Baking time will increase by a few minutes. The pie dough and apple filling can both be frozen for up to 3 months.
