Spritz Cookies
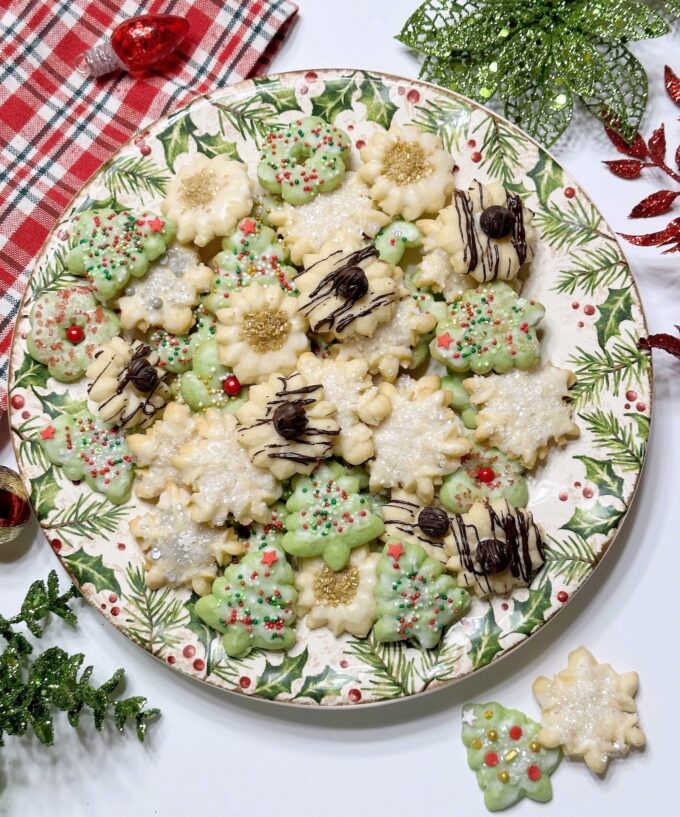
Spritz Cookies are the quintessential festive Christmas cookie. Use a cookie press to create beautiful different Christmas shapes and decorate them with your favorite sprinkles or toppings. These little gems are perfect for gifting or just sitting down with a plate full and a tall glass of milk.
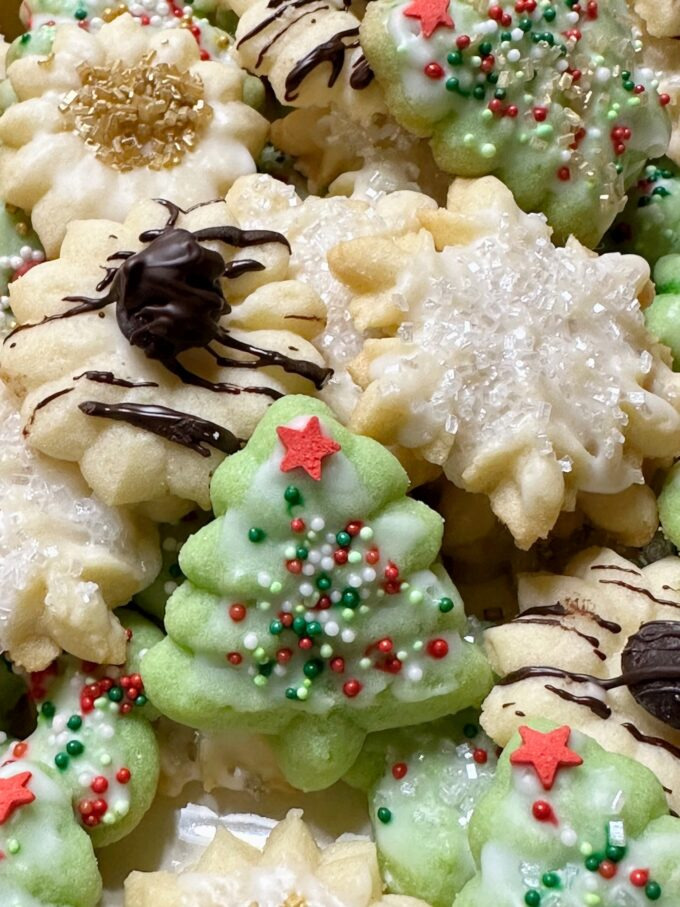
These Spritz cookies might be mini in size but they are huge in flavor. They are soft and buttery and the perfect size to pop in your mouth. They are also super easy to make and decorate.
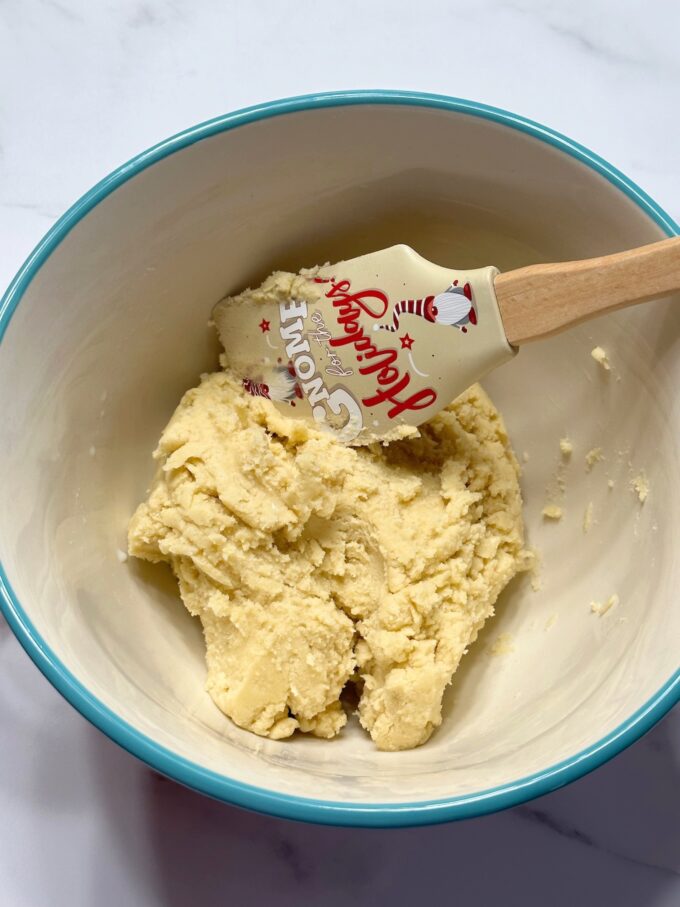
Besides this being an easy recipe, the dough doesn’t need to be chilled. This dough comes together quickly and you can move right on to transferring it to your cookie press.
How did the Spritz Cookies get their name?
Spritz cookies originate from the german word Spritzgeback, the verb being Spritzen, meaning to squirt or quickly press something. In the U.S. the word has been shortened to Spritz.
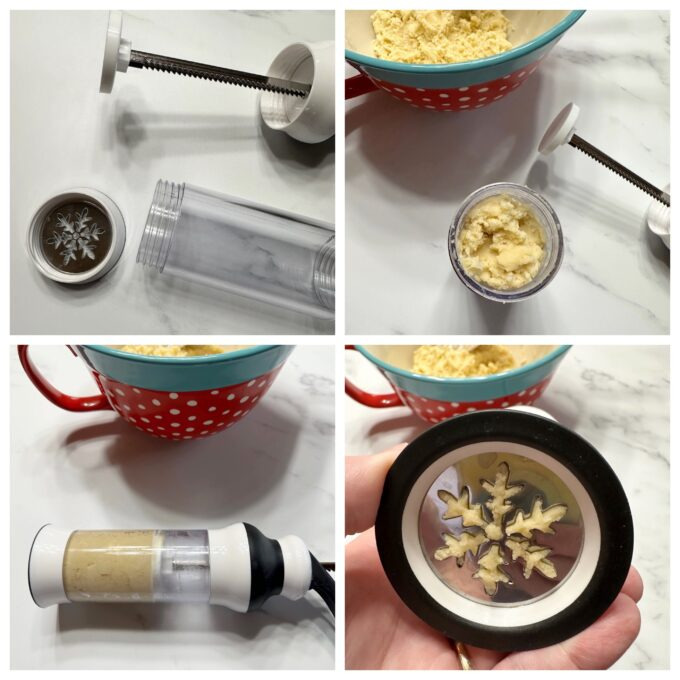
HOW TO USE A COOKIE PRESS
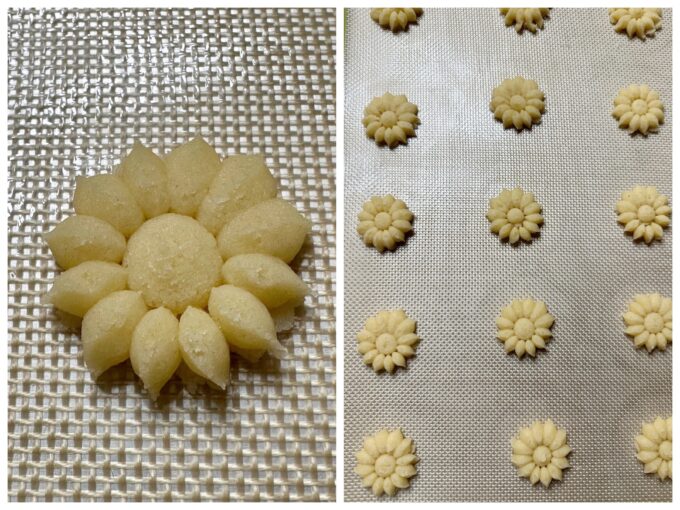
Just in case you’ve never used a cookie press, I’ll explain how easy it is to use one. The one I have, (pictured below) is the OXO cookie press. It comes with 12 metal discs of different designs, plus I ordered an extra set of 6 Christmas ones. There’s plenty to choose from.
Assembling and filling the cookie press
All cookie presses are basically the same…
- Unscrew and remove the bottom ring of the press. Select the disc you want to use and place the disc in the bottom. Screw the bottom ring back on.
- Push in on the gray quick release button on the front of the cookie press with your left hand while using your right hand to pull the plunger up all the way to the top of the cookie press.
- Unscrew and remove the top ring. Spoon the cookie dough into the cookie press, filling it no more than 3/4 full. Screw the top ring back onto the top of the cookie press.
- Prime the cookie press by pumping the lever a few times until the cookie dough starts to come through the metal disc. Once it comes out uniformly and evenly, you’re ready to press cookies.
Pressing the cookies
- Hold the cookie press upright and place onto the cookie sheet.
- Using your left hand, hold the body of the cookie press securely. Press the lever until it clicks and lift the cookie press straight up. Hey…you just pressed your first cookie! 🙂
Can I make these cookies without a cookie press?
If you don’t have a cookie press you can attach a 1/2-inch open star to a pastry bag and use it to pipe the cookies. Test a small amount of dough first. If the dough is hard to pipe, add 1 teaspoon of milk to the dough, mix it in and test again.
Adding food coloring to the cookie dough
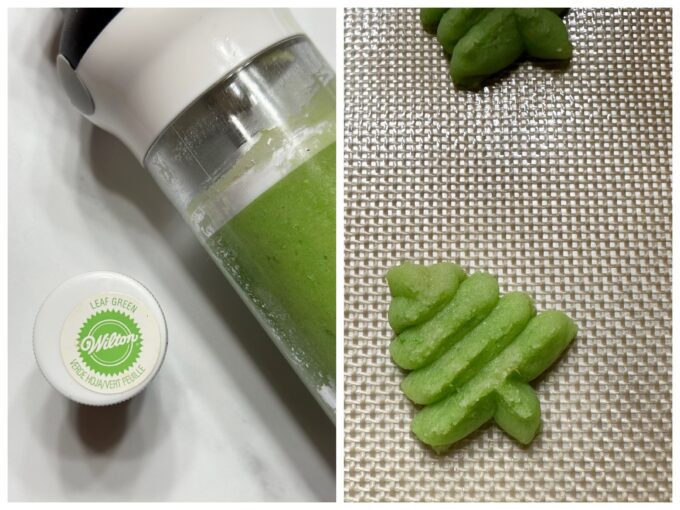
As I’ve often commented, I’m not a big fan of food coloring. However, I will use it from time to time in moderation. I couldn’t resist tinting some of these festive cookies green, especially the trees. I used Wilton Leaf Green gel coloring.
Make sure to use gel food coloring if you can. It blends beautifully. Start with a small drop, mix it in, then add a second drop if necessary. It doesn’t take much!! If you’re using the jar instead of the squeezable bottle, simply use a toothpick and dip it in the gel coloring then swish the toothpick around in the dough. Once you mix the coloring into the dough, if you need more, use a second clean toothpick and add a little more. Repeat until you achieve the color you want.
Pro tips for making these cookies
- Don’t use parchment paper to line your cookie sheets. When you release the cookie dough and lift up the cookie press, the paper will lift up with the press. It’s best to use a plain cookie sheet or a silicone baking mat.
- Make sure your cookie sheet is sitting on a flat surface. You want the cookie dough to stick to the cookie sheet and release from the cookie press. If your cookie sheet is sitting on an uneven surface, it makes it harder for the cookie dough to adhere to the cookie sheet. For example…I have a wooden kitchen table that has waves in the wood. I cannot pipe these cookies on my tabletop. One adheres to the cookie sheet and the next one doesn’t.
- If your dough doesn’t release from the bottom of the cookie press, try placing the cookie press of dough in the refrigerator for about 10 minutes and trying again.
- Don’t place sugar sprinkles on the cookies before baking them. The sugar will melt into the cookies. I personally don’t decorate any of my cookies until after they’re baked.
- Once cookies are baked, (if you’re not using the glaze recipe in this post), brush the cookies with a little corn syrup before decorating with sprinkles.
- Don’t over bake the cookies. As soon as you can see a hint of golden color around the edges, remove the cookies from the oven. They should be pale on the tops, not even slightly browned. These cookies take no time to bake. Don’t get busy doing other things and forget about them.
Can I prep the dough in advance?
You sure can! You can prep the dough up to 3 days in advance and refrigerate it. When you’re ready to use it, bring the dough to room temperature before pressing the cookies.
Can I freeze the cookie dough?
Yes! You can mix and freeze the dough for up to 3 months. Thaw the dough overnight in the refrigerator, then bring it to room temperature before using.
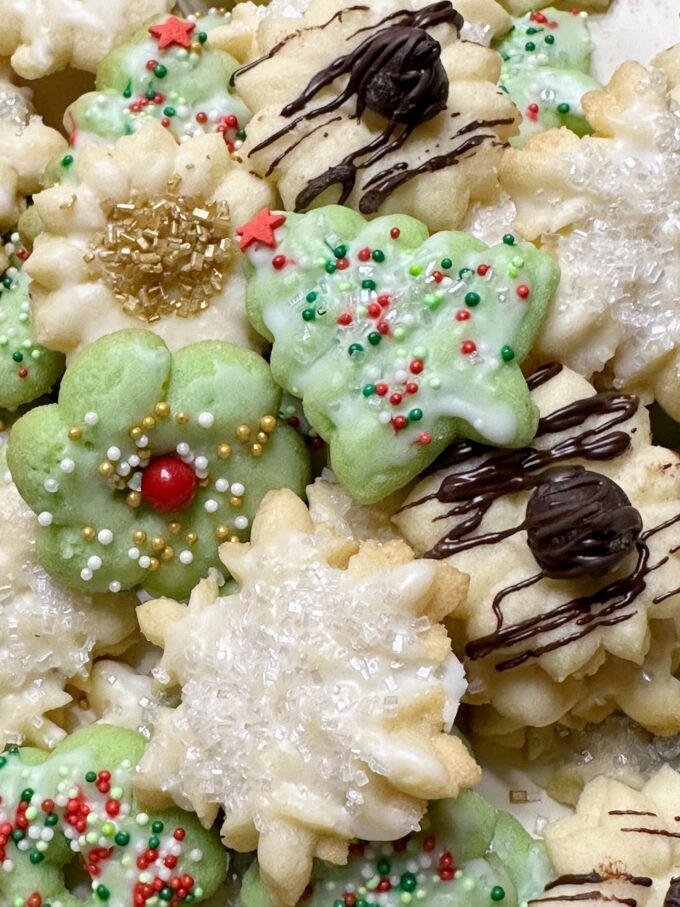
Decorating Spritz cookies
Of course you can do your own thing here, but I like to brush my baked Spritz cookies with a thin vanilla glaze, then add sprinkles.
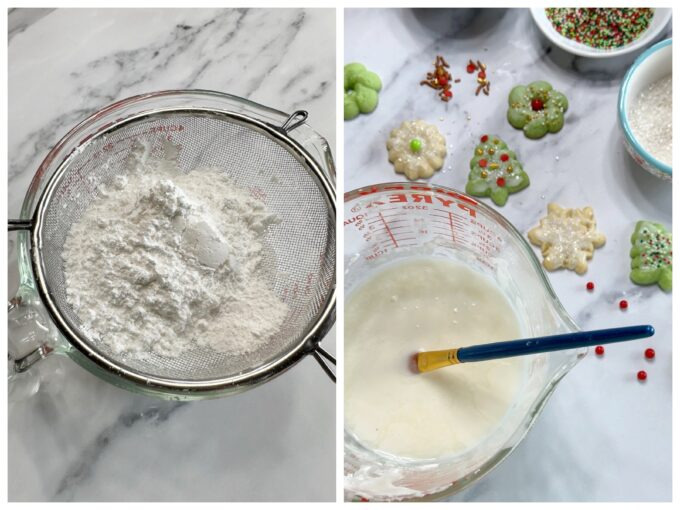
To make the vanilla glaze, I simply whisked together some powdered sugar, vanilla and milk. Then I used a tiny pastry brush and brushed it on the tops. You can also use a small offset spatula or knife, but if you want to get between intricate details the brush works perfect.
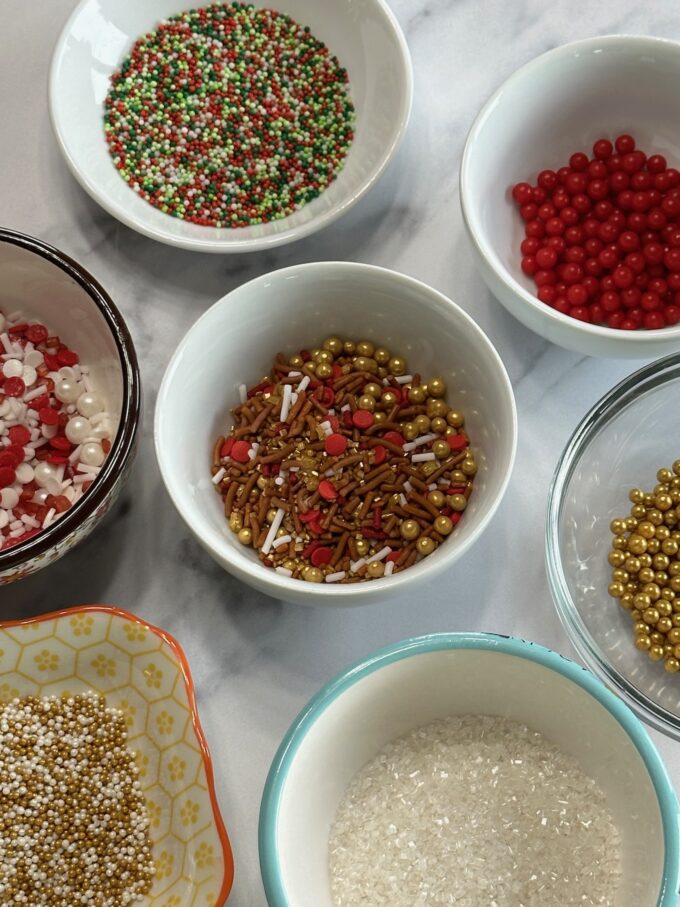
Once I brushed the top of each cookie with the vanilla glaze, I sprinkled them with my favorite sprinkles. I actually added to small chocolate chip in the center of a few and swished some chocolate over the cookie.
Check out even more yummy Christmas cookie recipes…
If you make this recipe please rate it, and leave a comment below on how you liked it. I love hearing from you!
Wanna see different recipes each day? Feel free to follow me on Facebook, Pinterest and Instagram.
Print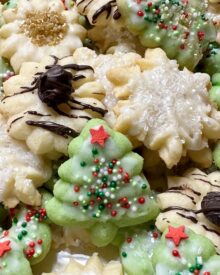
Spritz Cookies
- Prep Time: 45 minutes
- Cook Time: 9 minutes
- Total Time: 54 minutes
- Yield: 60 mini cookies 1x
- Category: cookies
- Method: Bake
- Cuisine: German
Description
These cookies are crisp, buttery and easy to make. All you need is a cookie press or pastry bag with a piping tip. They are the perfect bite size cookies and you can make them in so many different shapes. The decorating options are endless. Have fun with these cookies!
Ingredients
COOKIES
- 2 1/4 cups all-purpose flour, spoon and leveled
- 1/2 teaspoon salt
- 1/4 teaspoon baking powder
- 1 cup (2 sticks) unsalted butter, room temperature
- 3/4 cup granulated sugar
- 1 large egg, room temperature
- 1 1/2 teaspoons pure vanilla extract
- 1/4 teaspoon almond extract
- Optional: candy sprinkles or other edible decorations
VANILLA GLAZE
- 1/2 cup powdered sugar, sifted
- 1/4 teaspoon pure vanilla extract
- 1 tablespoon milk
Instructions
COOKIES
- Preheat oven to 350 degrees.
- In a medium bowl, whisk together the flour, salt and baking powder and sit aside.
- Add the butter to a large mixing bowl. Using a stand or hand mixer, beat the butter on medium-high speed until it’s light and creamy, about 30 seconds. Add the sugar and beat on medium-high speed again until the mixture is light, creamy and smooth and the sugar is no longer gritty, about 1 minute. Add the egg, vanilla and almond extracts and beat on medium-high speed to combine. Scrape down the sides of the bowl and beat for an additional 30 seconds.
- Turn mixer to low and add the dry ingredients. Mix on medium speed until the flour is incorporated. Don’t over mix.
- Fill your cookie press with the dough, pushing it down to fill in any air gaps. See my tips in the post above. Hold the cookie press perpendicular to your cookie sheet and press the cookies out about 1/5 inches apart. If the dough becomes a little too soft, and sticks to the bottom of your cookie press, place it in the fridge for about 10 minutes.
- Bake the cookies for about 8 to 9 minutes until they are just barely turning light brown around the edges and transfer them to a wire rack to cool.
VANILLA GLAZE
- Using a fork, whisk the ingredients together in a measuring cup or small bowl. Using a small offset spatula or a tiny brush apply/brush a thin layer of the glaze over each cookie.
- Drop sprinkles on each cookie or use tweezers to place them on each cookie.
- If you use chocolate on some of them, brush them with the glaze anyway. It’s a great finish to these cookies. Drizzle chocolate over cookies. If you decide to place a chocolate chip in the centers, brush a tiny bit of extra glaze on the bottom of the chocolate chip to help it adhere.
- The glaze will set up within 5 minutes on these cookies. Once the glaze is set, store the cookies in an airtight container for up to one week.
Notes
- Read my post above for tips on piping the cookies.
I have frozen Spritz Cookies many times but never with the glaze.
Can they be frozen with the glaze?
Hi Ann, Yes they can.
I always decorate before baking, it works beautifully and is so much easier. The sprinkles, a red hot and sugar all come out perfect for me!
Hi Laura, Thanks so much for your feedback and tips!
I tried this recipe and had so much trouble. I am going back to my old one. The taste was good, but the dough was a bother.