Peanut Butter Sandwich Cookies
These Peanut Butter Sandwich Cookies have an explosion of peanut butter flavor. A creamy peanut butter filling gets sandwiched between two peanut butter oatmeal cookies, and it’s a no-chill dough. Now all you need is a tall glass of milk!!
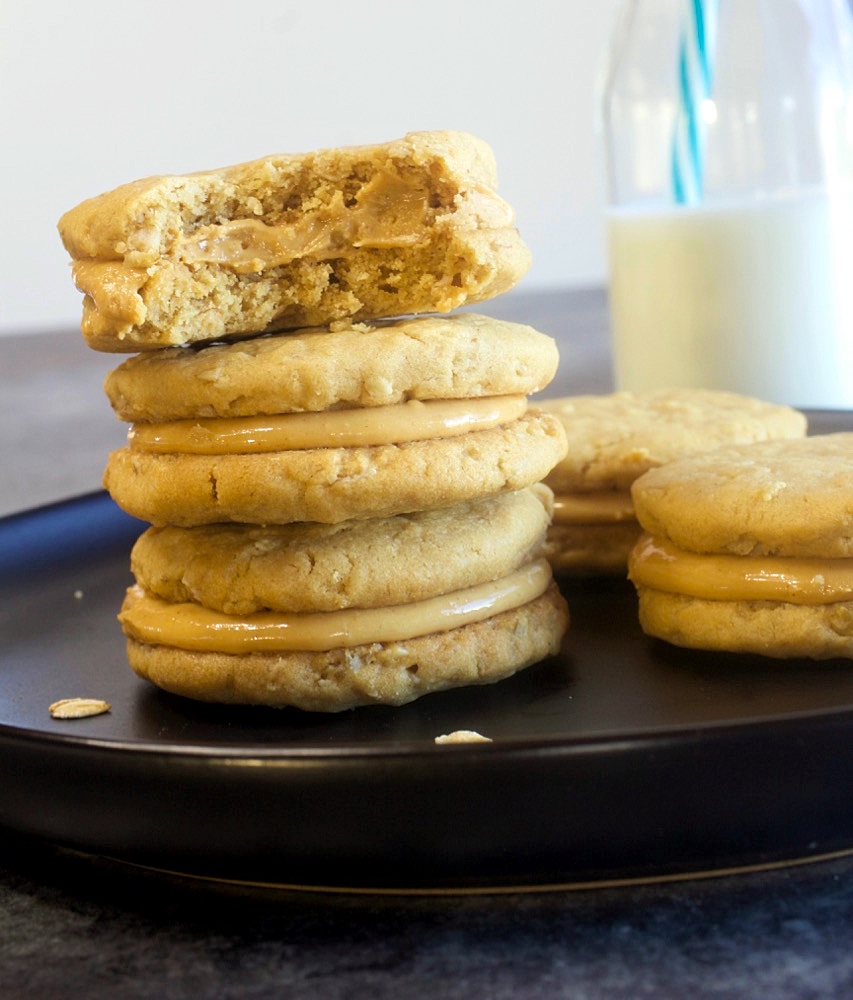
If you’re one of the million or more fans of the nutter-butter style Girl Scout cookie called Do-si-dos, you’re gonna love this cookie recipe and you don’t have to wait for a once a year chance to buy them. These are easy to make, simply delicious and you can make them anytime you get a craving for them. Who says a cookie has to be bad for you? These cookies are packed full of creamy peanut butter and oats…two good-for-you ingredients right there!
These cookies are SO easy to make. Here’s all I did to make them…
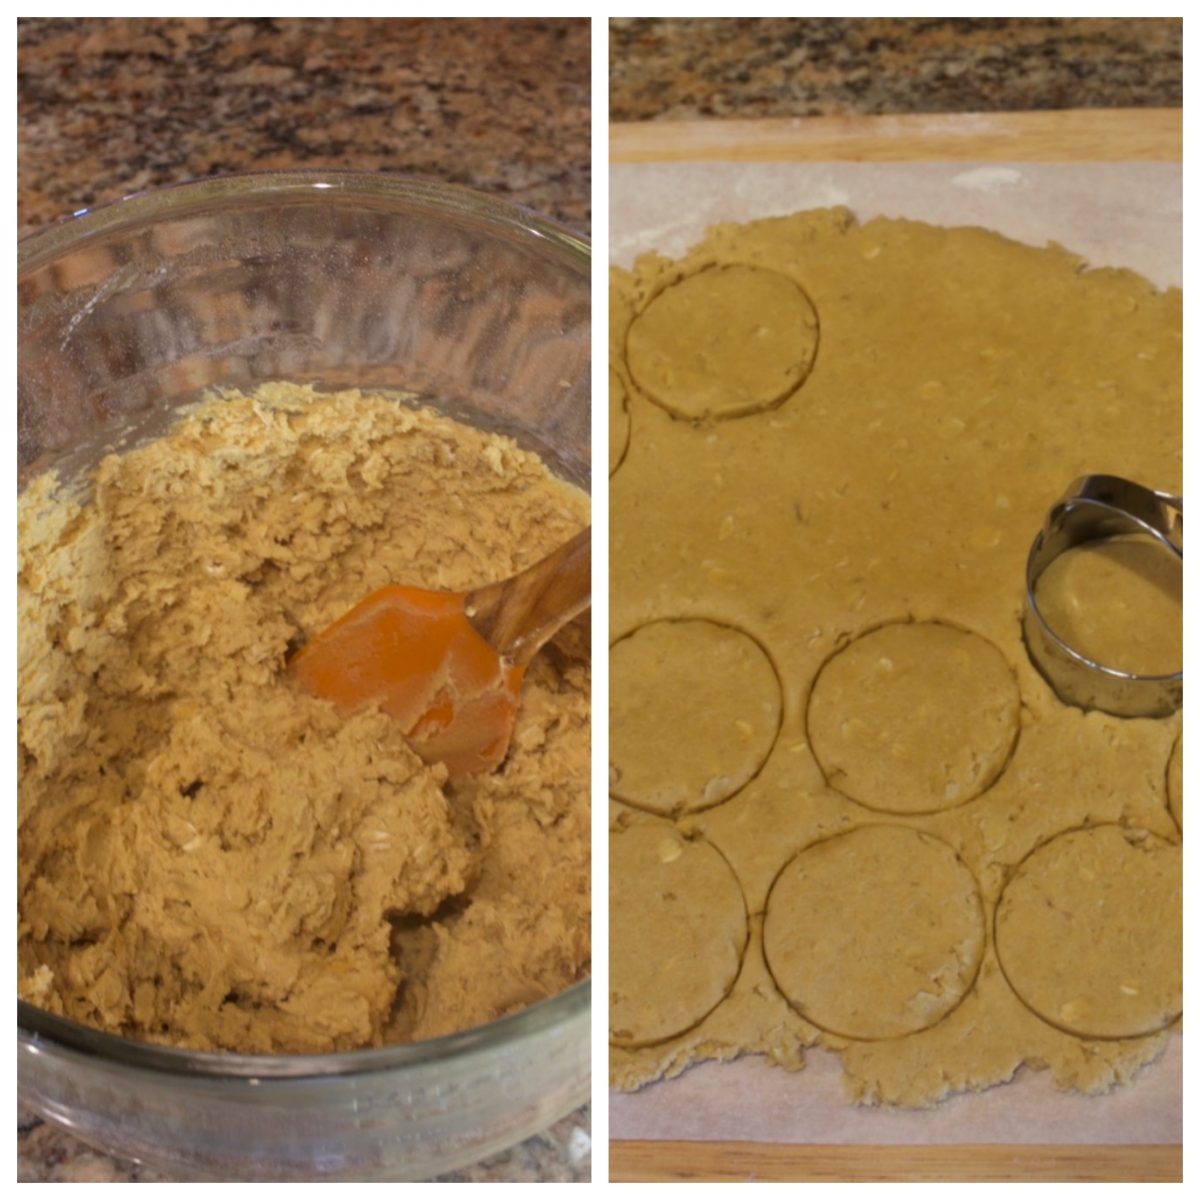
I mixed up the cookie dough. This took about 5 minutes. Next, I rolled the dough out to about 1/4 inch in thickness. Then I cut out rounds of cookie dough with a 2-inch cookie cutter and placed them on cookie sheets.

TIPS FOR MAKING THESE COOKIES
- If you want cookies that are the same exact size when you get ready to sandwich them together, use a cookie cutter to cut the dough, instead of rolling them in balls and flattening them with a measuring cup, as some recipes call for. I even went a step further here. Once I placed the dough rounds on the cookie sheets, I placed my cookie cutter back over the rounds and pressed down as though I was cutting them again. I removed any remnants of dough that were on the outside of the cutter, (see picture above).
- Use old-fashioned oats in this recipe. You can substitute quick oats but you may end up with cookies that are dry. Quick oats are processed longer than old-fashioned rolled oats, making them softer and able to absorb liquid quicker, thus cooking up quicker. However, if you’re using them in certain recipes for baked goods, they will absorb the moisture from the cookies and make them dry. Old fashioned oats are rolled and flattened into large flakes. They do not absorb moisture as quickly as quick oats. They also retain their shape and texture when cooked, which gives cookies a nice rustic touch.
- Don’t use natural peanut butter. Natural peanut butter contains a lot of oil and can add too much moisture to baked goods. It can make a good cookie taste greasy too. Unless a recipe specifically calls for natural peanut butter, use regular peanut butter.
- This recipe has a no-chill dough. You don’t need to chill this dough, because it really doesn’t expand or spread much when baked, but if you want to make double sure that the cookies won’t spread, line your cookie sheets with parchment paper or use a silicone mat. Both help to inhibit the spreading of the cookie dough. Otherwise, these cookies don’t need anything under them. They do not stick to the cookie sheet.
- Don’t go crazy with the filling. It’s very tempting to go overboard with the filling, but try to restrain yourself. I actually did go a little overboard on some of my cookies.
Speaking of the filling…
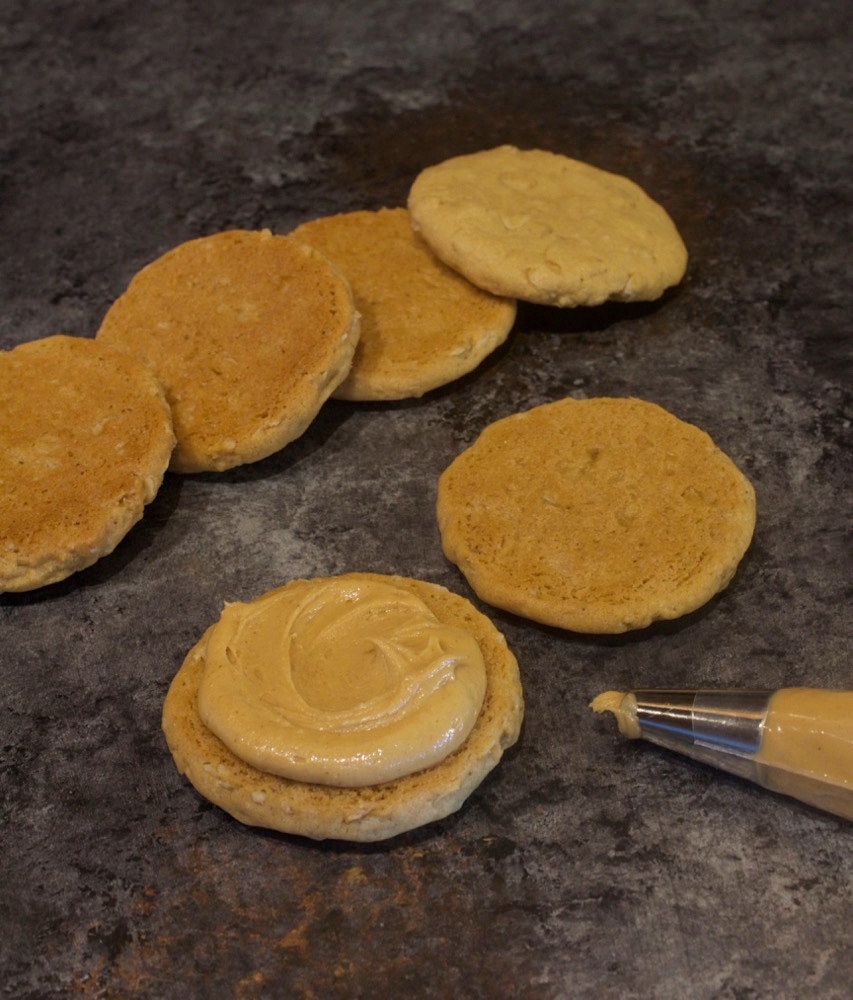
I piped the filling onto one cookie and placed a second cookie on top, slightly pressing the two cookies together. I used a Wilton #12 tip for this, but you can just slather it on with a knife or offset spatula. Note: It’s easy to get carried away with the filling. Don’t spread the filling all the way to the edges. It will spread to the edges once you place a second cookie on top.
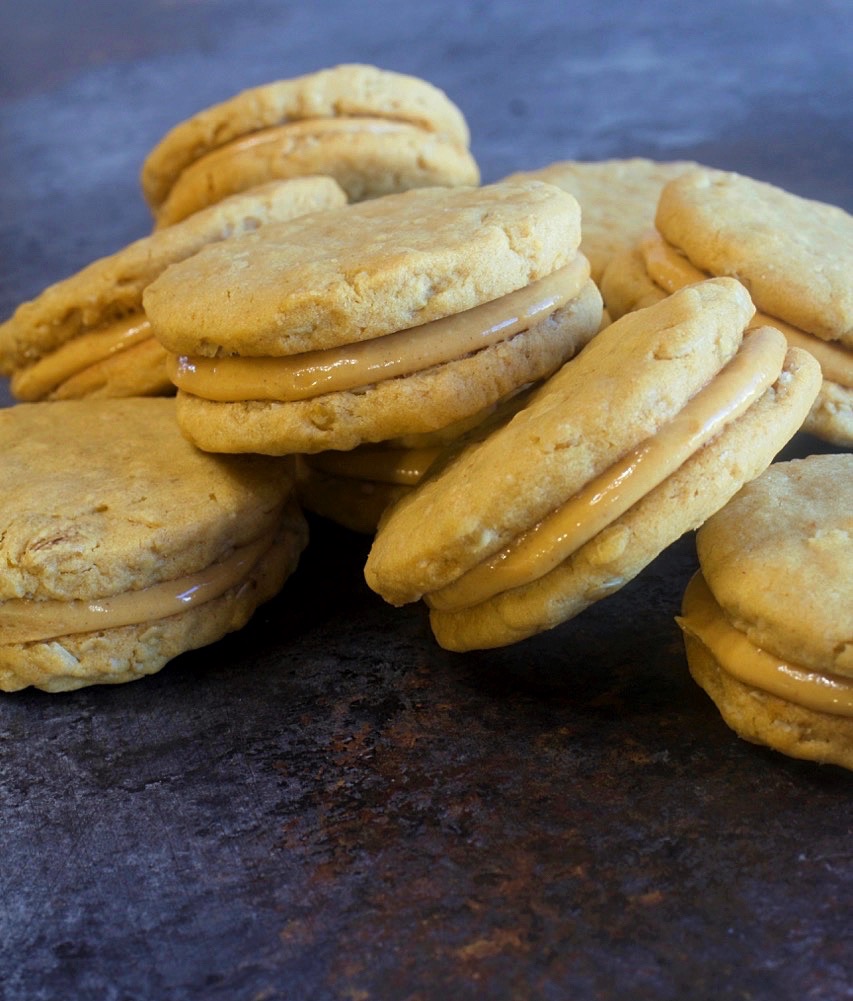
If you like peanut butter, check out these recipes,
Soft & Chewy Peanut Butter Cookies.
Reese’s Pieces Peanut Butter Cookies
Print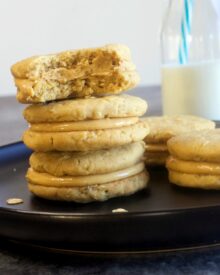
Peanut Butter Sandwich Cookies
- Prep Time: 30 minutes
- Cook Time: 12 minutes
- Total Time: 42 minutes
- Yield: 15 sandwich cookies 1x
- Category: cookies
- Method: bake
- Cuisine: American
Description
These cookies are an explosion of peanut butter flavor and you don’t need to chill the dough. A creamy smooth peanut butter filling is sandwiched between two soft oatmeal peanut butter cookies. All you need is a tall glass of milk!
Ingredients
FOR THE COOKIES
- 1 cup old-fashioned rolled oats
- 1 cup all-purpose flour
- 1 teaspoon baking soda
- 1/2 teaspoon salt
- 1 stick unsalted butter, room temperature
- 3/4 cup packed light or dark brown sugar, (I used light)
- 1/4 cup granulated sugar
- 1 large egg, room temperature
- 1/2 cup creamy peanut butter
FOR THE FILLING
- 1 cup creamy peanut butter
- 1 tablespoon honey
- 1/4 cup powdered sugar
- 1/8 teaspoon salt
Instructions
Preheat oven to 350 degrees. Line two baking sheets with parchment paper and set aside.
FOR THE COOKIES
- In a medium bowl, whisk together the oats, flour, baking soda, and salt and set aside.
- Add the butter to the bowl of a stand mixer or use a hand mixer. Mix on medium-high speed until the butter is smooth and creamy. Add the sugars, egg and peanut butter and mix until all ingredients are well incorporated. Add the dry ingredients and mix just until incorporated. Do not overmix.
- Roll the dough out on a lightly floured surface to about 1/4 inch in thickness. Using a 2-inch biscuit/cookie cutter, cut out rounds of the cookie dough and place on the prepared cookie sheets.
- Bake the cookies for approximately 12 minutes until they are golden brown on the bottoms and edges and light brown on the tops. Allow cookies to cool on cookie sheets for 5 minutes and transfer to a cooling rack to finish cooling.
FOR THE FILLING
- Mix the peanut butter, honey, powdered sugar, and salt together in a medium bowl. You don’t need a mixer for this. I used a wooden spoon to mix it.
- Place about one tablespoon of the filling on a cookie. Place a second cookie on top of the filling and gently press down, just until the top cookie adheres to the filling. Note…I used a Wilton #12 round tip for this step, but you don’t have to. Just make sure that you don’t spread the filling all the way to the edges because it will spread some when you press the top cookie onto the filling.
- Store the cookies in an airtight container. Cookies will stay fresh for up to 3 days.
Notes
- Since these cookies are going to be sandwiched together, it’s good to have them all be the same size. Here’s my tip for ensuring they are all the same size. Once you place the cookie dough rounds on the cookie sheets, take the cookie cutter and place it straight down over each dough round, as if you were cutting the cookies again. Remove any remnants of dough that are on the outside ring of the cookie cutter.
