Light and Fluffy Yellow Cake
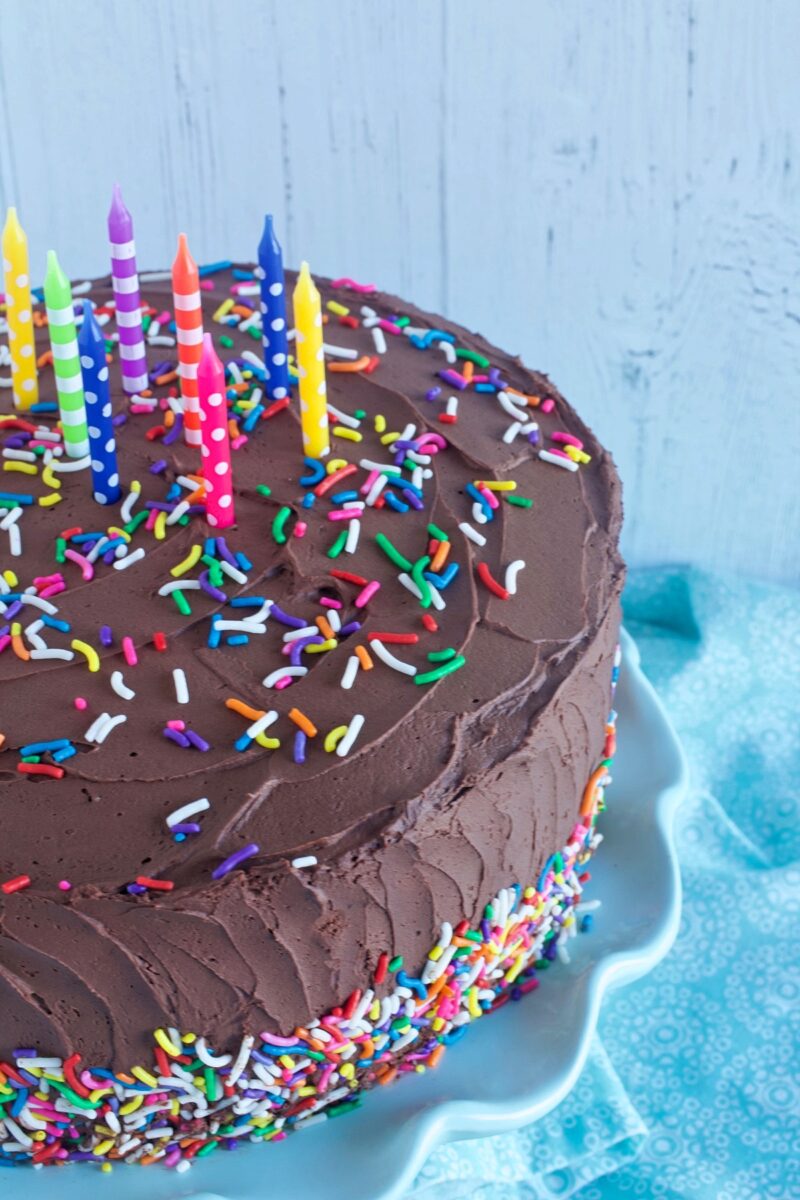
This Light and Fluffy Yellow Cake is a step above the classic yellow cake. Beaten egg whites help to leaven and make this cake airy and cake flour gives it a delicate tender crumb. It will become your favorite yellow cake recipe and it’s perfect for birthdays or any occasion!
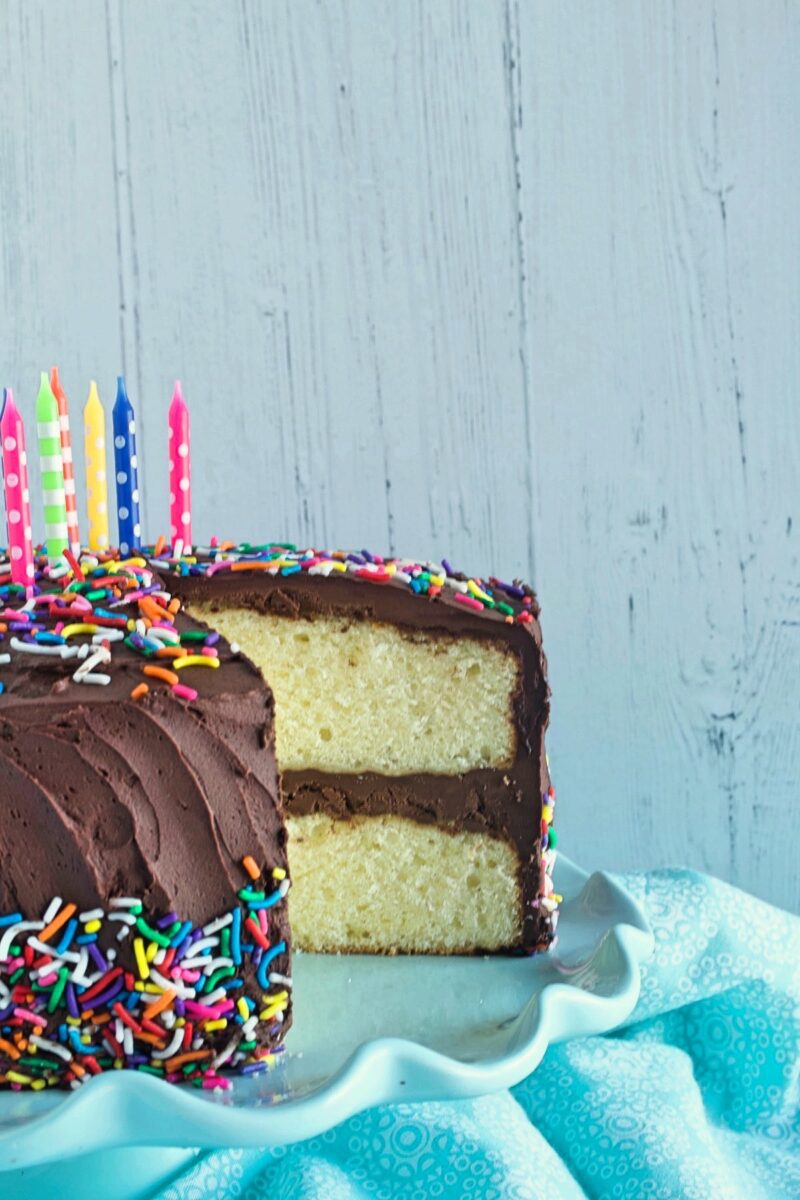
Most yellow cake recipes call for whole eggs, and they are dense and buttery with a good structure and tight crumb. I’ve made and been served these classic yellow cakes at many birthday parties. Although they do have a good flavor and they hold up well, they are somewhat dense, closer to a pound cake texture. To me, the ideal yellow cake for special occasions, such as birthdays should be light and fluffy, not dense and buttery. That’s why I love this recipe and you will too.
There really is a science behind baking!! When it comes to cakes, you must first decide on the texture you are looking for, then go from there. Each and every ingredient plays a huge role in the end result. Here, I’ll show you what ingredients make up this buttery, light, and fluffy yellow cake.
WHAT MAKES THE PERFECT YELLOW CAKE!!
- CAKE FLOUR: Cake flour has a finer crumb than regular all-purpose flour. It’s It is finely ground with a very smooth texture, resulting in fine-textured cakes that are soft & tender. This is what you want in a regular cake, such as birthday cakes. If you were making a dense cake, such as a pound cake, you would use regular all-purpose flour.
- BAKING POWDER & BAKING SODA: Both of these leavening agents give lift to cakes. Baking powder is activated twice in baked goods…once when added to wet ingredients and a second time by heat, when placed in a hot oven. Baking soda needs an acid to activate it, such as buttermilk or sour cream. It’s only activated once when added to an acidic ingredient.
- SALT: Salt helps to bring out the flavor of all the ingredients.
- BUTTER: Butter adds lots of flavor to cakes. We use room temperature butter in this recipe, versus melted. Why? Because we cream the butter with the sugar, creating small air bubbles, that in turn, help to give volume to the cake.
- EGG YOLKS: Egg yolks are very important in cakes. They are vital for structure. Knowing the correct ratio of egg yolks, to egg whites is key. If we were making a pound cake, we would use several whole eggs, because we would be looking for a heavier cake and a dense texture. We don’t want that in this cake…we want light and tender. In this recipe, we’re using 5 large egg yolks and 4 large egg whites. The first time I tested this recipe I used 4 large egg yolks and realized it could’ve used a little more moisture, so on my second test, I added an extra egg yolk. Perfect!
- EGG WHITES: Egg whites don’t contribute as much to the structure of the cake as they do in acting as a leavening agent. Beaten egg whites contain lots of air, and they also trap more water than egg yolks. In this recipe, we are beating the egg whites until they form soft peaks and folding them back into the batter. It’s also important to not overwhip the egg whites. Overwhipped egg whites will result in a chewy dense cake texture.
- BUTTERMILK: Buttermilk adds tanginess and moisture to cakes. It also interacts with the baking soda to help leaven the cake. You can make a DIY version of buttermilk if you’re in a pinch, but it’s not quite the same. Also, make sure you use full-fat buttermilk.
- VANILLA: Vanilla adds flavor to all baked goods. Make sure to use “pure” vanilla extract.
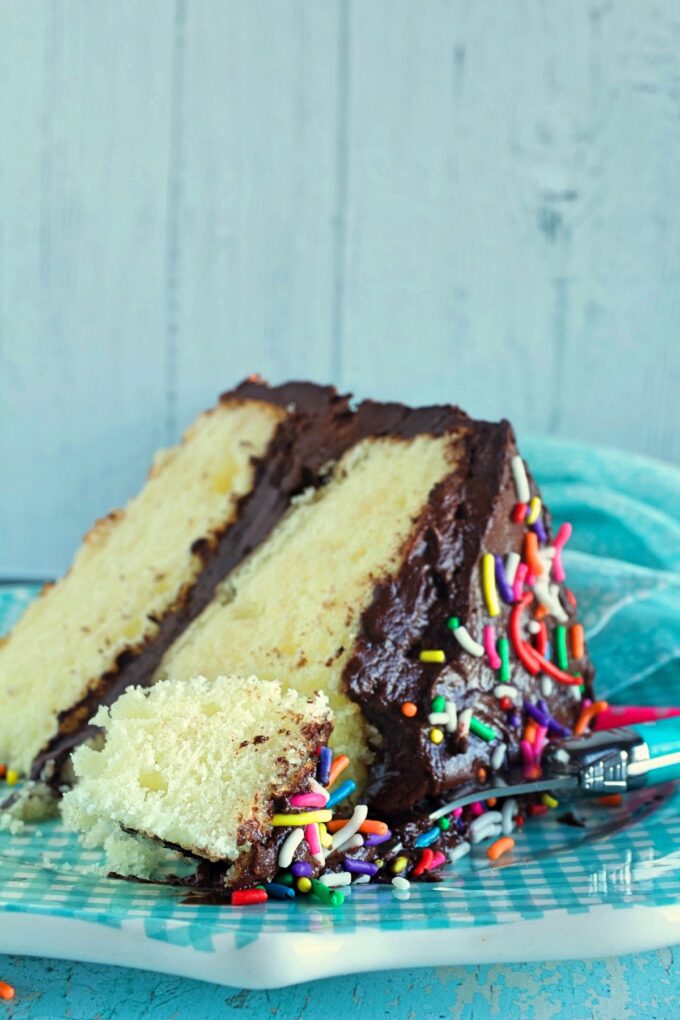
You might be wondering why the color of this cake isn’t a true yellow color like the ones from a box. Here’s why…
- There’s no food coloring added to this recipe. The butter and eggs are the only things giving any color to the cake batter.
- The egg whites get whipped and folded back into the batter, making the batter lighter in color.
EGG WHITE TIP:
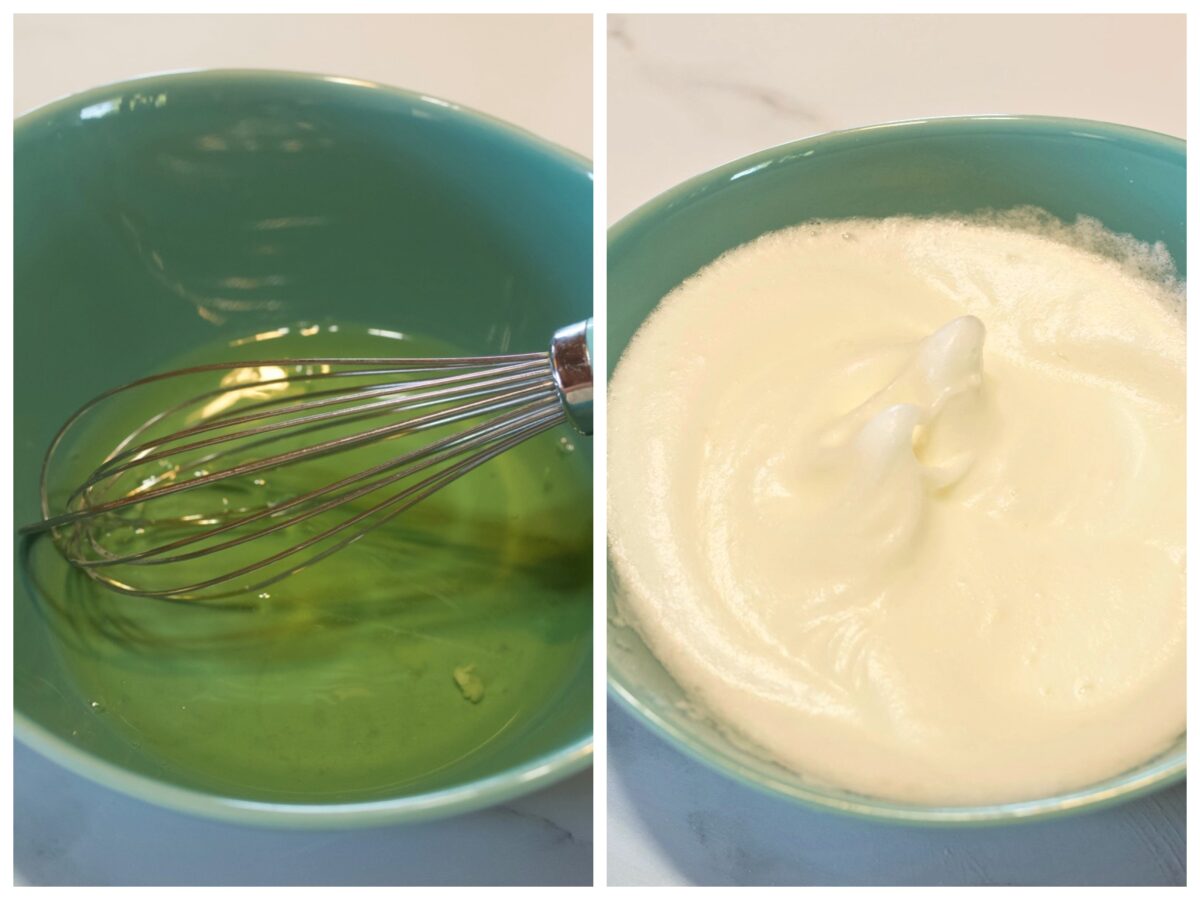
Whether you use a hand whisk as I did in the picture above or an electric mixer, it’s important not to over whip the egg whites. In this recipe, the egg whites need to be whipped into soft peaks…not just foamy and not stiff peaks. If you whisk them just until they’re foamy, they won’t have enough time to incorporate enough air bubbles in them and if you over whip them, (stiff peaks), the texture of the cake will be dense and chewy. A soft peak will fall over onto itself. If it stays erect, then you’ve created a stiff peak.
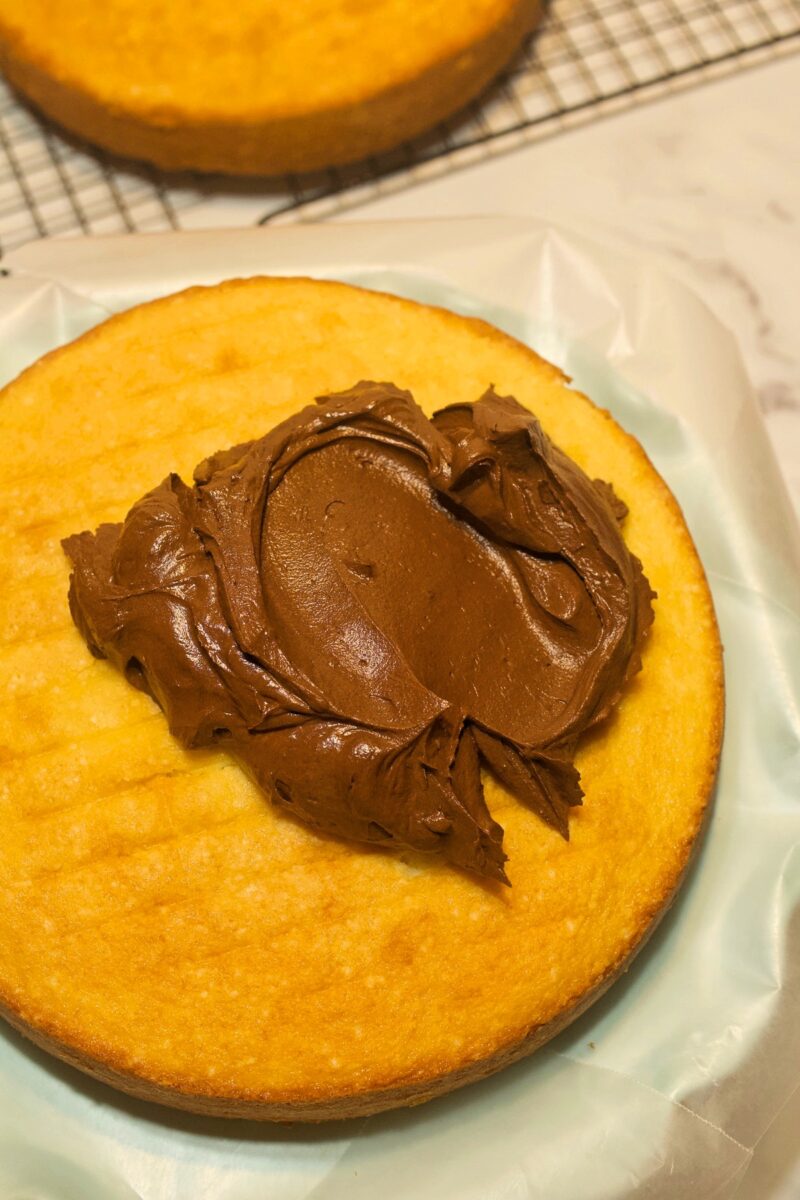
Frosting
The frosting recipe for this cake consists of 2 kinds of chocolate and quite a bit of it. It’s made with cocoa and bars of chocolate. If you have a favorite chocolate frosting recipe, feel free to use it. Just make sure it makes enough to cover a 9-inch 2 layer cake. I’ve listed two additional chocolate frosting recipes below.
TIPS FOR MAKING THE PERFECT YELLOW CAKE
- Measure the flour correctly. Too much flour will result in a dry cake. Spoon the flour into a measuring cup, then level it off with the edge of a knife. Alternately, you a kitchen scale to measure the flour.
- Don’t tap the cake pans on a counter to remove air bubbles after you fill them with batter. We want this batter to stay light and airy.
- Don’t overbake the cake layers. When tested with a toothpick, the toothpick should come out with moist crumbs on it, but not doughy. You can also check for doneness by lightly touching the center of the cakes. If they spring back they’re done.
- Don’t open the oven door, until the cakes are almost done. If you open the oven door too soon, the cakes will sink in the middle.
- Try not to use dark cake pans. They tend to over-brown the cake and dry it out.
- Don’t substitute regular milk for the buttermilk. We need the acid in the buttermilk to interact with the baking soda and help leaven the cake.
- Make sure that all your ingredients are at room temperature. You can separate eggs while they’re cold, but don’t use them until they have reached room temperature.
- Don’t under beat the butter and sugar. Beat…beat…beat…that butter and sugar mixture until it looks light and airy and the sugar doesn’t feel gritty between your fingers.
- Don’t over incorporate the dry ingredients. Once the flour is added, mix ONLY until it’s incorporated into the wet ingredients and STOP. Over mixing will result in a tough cake.
CAN I BAKE THIS CAKE IN A DIFFERENT SIZE CAKE PAN?
YES! You can bake this cake in a 9 x 13 cake pan or two 8-inch cake pans. The 8-inch pans will make 2 very deep cake layers and will take a little longer to bake in the oven.
More chocolate frosting options for this cake…
Milk Chocolate Cream Cheese Frosting
Whipped Chocolate Ganache Frosting
You might also like…
If you make this recipe please rate it, and leave a comment below on how you liked it. I love getting your feedback! 🙂
Wanna see different recipes each day? Feel free to follow me on Facebook, Pinterest, & Instagram!
Print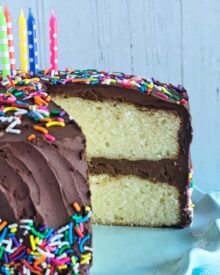
Light and Fluffy Yellow Cake
- Prep Time: 30 minutes
- Cook Time: 30 minutes
- Total Time: 1 hour
- Yield: 12 servings 1x
- Category: cakes
- Method: bake
- Cuisine: American
Description
This yellow cake is light and fluffy with a delicate light crumb. Whipped egg whites and cake flour both add to the wonderful light texture of this cake and it will become your go-to recipe for yellow cake!
Ingredients
CAKE
- 3 cups cake flour, spoon, and leveled
- 1/2 teaspoon salt
- 1/2 teaspoon baking soda
- 2 teaspoons baking powder
- 2 sticks unsalted butter, room temperature
- 2 cups granulated sugar
- 5 large egg yolks, room temperature
- 1 teaspoon pure vanilla extract
- 1 cup full-fat buttermilk, room temperature
- 4 large egg whites, room temperature
FROSTING
- 1/4 cup plus 2 tablespoons Dutch-process cocoa
- 2 sticks unsalted butter, room temperature
- 1/2 cup powdered sugar
- 1/4 teaspoon coarse salt
- 1 teaspoon pure vanilla extract
- 1 pound semisweet chocolate, chopped, melted, and cooled* (see notes below)
Instructions
CAKE
- Preheat oven to 350 degrees. Line two 9-inch cake pans with wax or parchment paper. Butter the paper and insides of the pans. Lightly flour the pans, tapping out excess flour. Set aside.
- In a medium-size bowl, whisk together the cake flour, salt, baking soda, and baking powder. Once whisked together, sift the dry ingredients into a separate bowl, to remove and small lumps in the cake flour.
- Add the butter and sugar to the bowl of a stand mixer fitted with the paddle attachment. Cream the butter and sugar on medium-high speed, until very creamy and pale, at least 3 to 4 minutes. You want to beat it until the sugar starts to melt into the butter, and not feel so grainy. Add the egg yolks, one at a time, mixing well after each addition. Add the vanilla and mix, scraping down the sides of the bowl. Turn mixer to low speed and add 1/3 of the flour, 1/2 of the buttermilk, 1/3 of the flour, the second 1/2 of the buttermilk, and ending with the last 1/3 of the flour. Stop mixing when the flour is just almost incorporated. Do not overmix!!
- Add the egg whites to a medium bowl. Using a hand whisk, whisk the egg whites until they are soft peaks. Add about 1 cup of the cake batter to the egg whites. Using a spatula, gently fold the two together. Add the egg whites to the bowl of batter. Using a spatula, gently fold them in by running the spatula down the sides of the bowl, under the batter, and back up the sides of the bowl. Repeat until the batter is equally blended.
- Divide the batter equally between the cake pans. Using an offset spatula, smooth the top of the batter in each pan. Do not tap the pans on a counter to remove air bubbles, like you normally would in a regular cake. This will deflate the cake batter.
- Bake the cakes in the center of the oven until a toothpick inserted in the centers comes out clean, 30 to 35 minutes, rotating the pans halfway through.
- Transfer cakes to a wire rack. Allow the cakes to cool in the pans for about 10 minutes. Invert the cakes onto a wire rack. Peel off the wax or parchment paper. Allow cakes to cool completely before frosting.
FROSTING
- In a small bowl, whisk together the cocoa and 1/4 cup plus 2 tablespoons of warm water until the cocoa is dissolved. Set aside.
- In a large bowl, using an electric mixer, beat the butter, powdered sugar, salt, and vanilla together on medium speed until the mixture is pale and fluffy. Gradually beat in the melted chocolate, followed by the cocoa. Beat until well combined.
- Allow the frosting to stand for 30 minutes before using.
- Using a serrated knife or cake leveler, trim the tops of the cakes to level them if desired.
- Frost the cake and serve. Note: I don’t recommend refrigerating this cake if you’re using this frosting recipe. The frosting becomes very firm when chilled.
Notes
- *I used bittersweet chocolate instead of semi-sweet in this recipe. If you use bittersweet chocolate, add an additional 1/4 cup of powdered sugar. I also used four 4-ounce bars of Ghirardelli 60% cacao.
- This frosting recipe calls for a lot of chocolate, four bars plus cocoa powder. If you don’t want to use a recipe calling for so much chocolate, feel free to use your favorite chocolate frosting recipe.
- Don’t use chocolate chips for the frosting. Use good quality chocolate bars, such as Ghirardelli.
This recipe was slightly adapted from Martha Stewart.
