Fresh Lemon Mousse
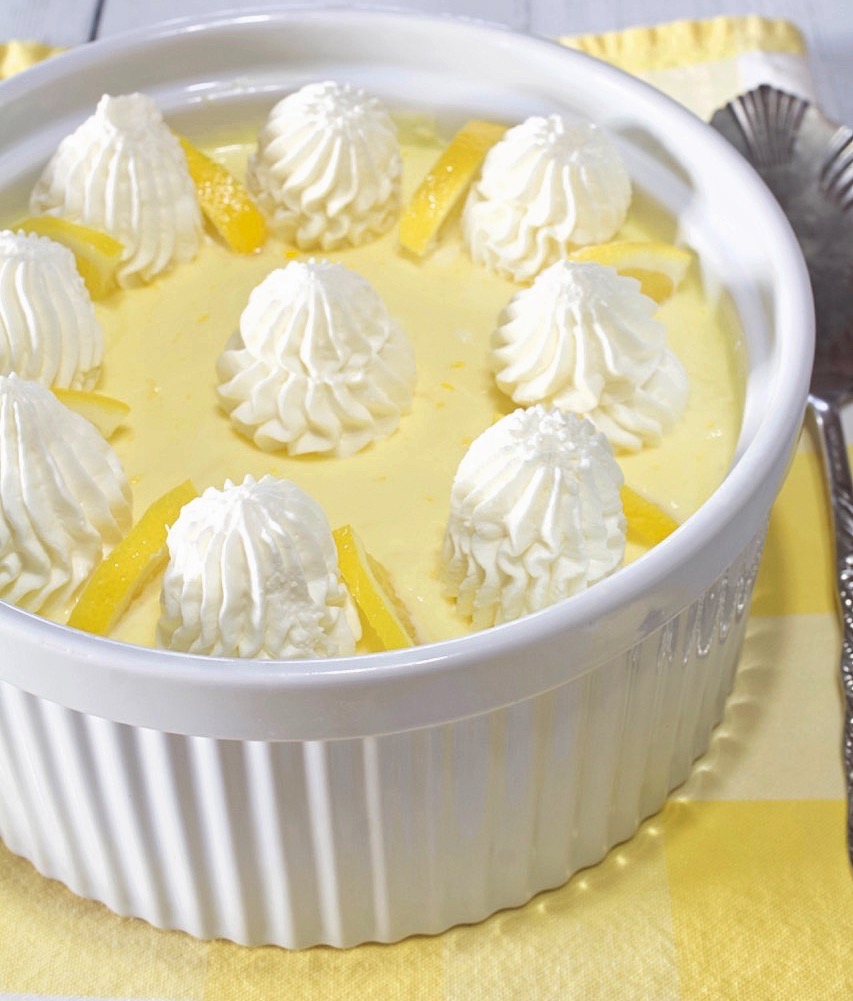
This Fresh Lemon Mousse, made with a combination of both homemade lemon curd and lemon filling, is the most delicious and flavorful Lemon Mousse that I’ve ever tasted!! It’s creamy, smooth, perfectly tart, and over-the-top delicious!
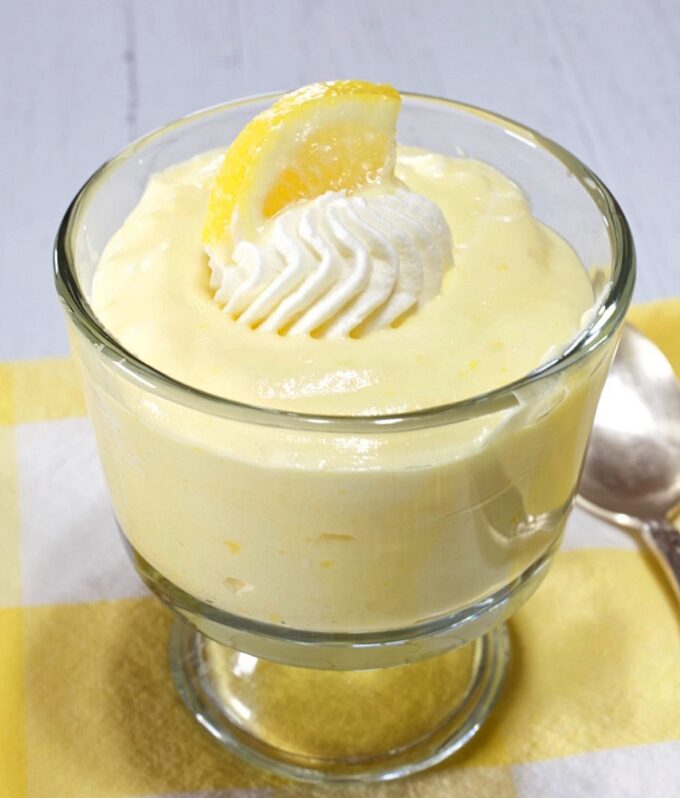
Every time I make a lemon dessert of any kind, I swear it’s my new favorite, but this time I really do mean it!!! I am definitely going to be making this to-die-for Lemon Mousse for the upcoming Easter holiday. I know without a doubt, that it will be a huge hit.
There are a few steps to making this recipe but none of them are hard and the end result is SO worth every step! You can also make part of the recipe one day, and finish it the next. You can also make the entire recipe, excluding the whipped cream, in advance.
You can choose to use store-bought lemon curd if you like. The result will still be delicious. I’ve included a separate recipe below for the lemon curd, in case you opt to use store-bought.
Lemon Curd
Let’s start by talking about making the LEMON CURD. (If you opt for store-bought, just skip this part).
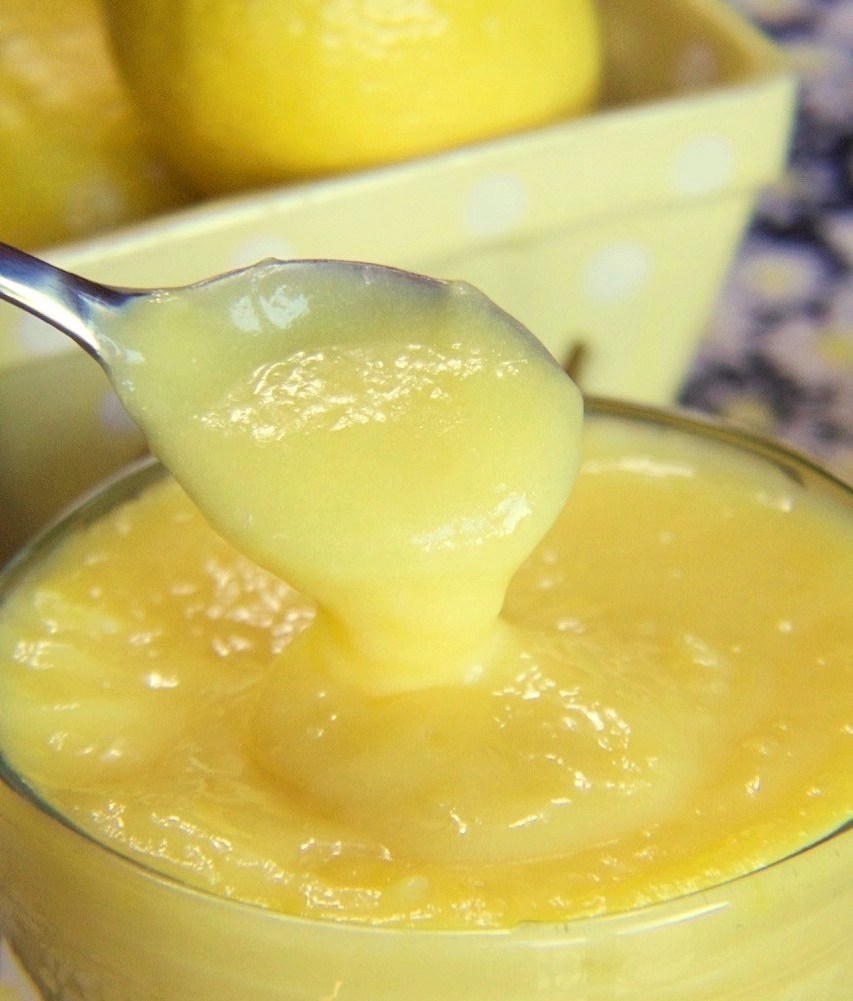
Homemade lemon curd is super easy to make and it’s absolutely delicious! Here’s how I made it…
ZESTING AND JUICING THE LEMONS
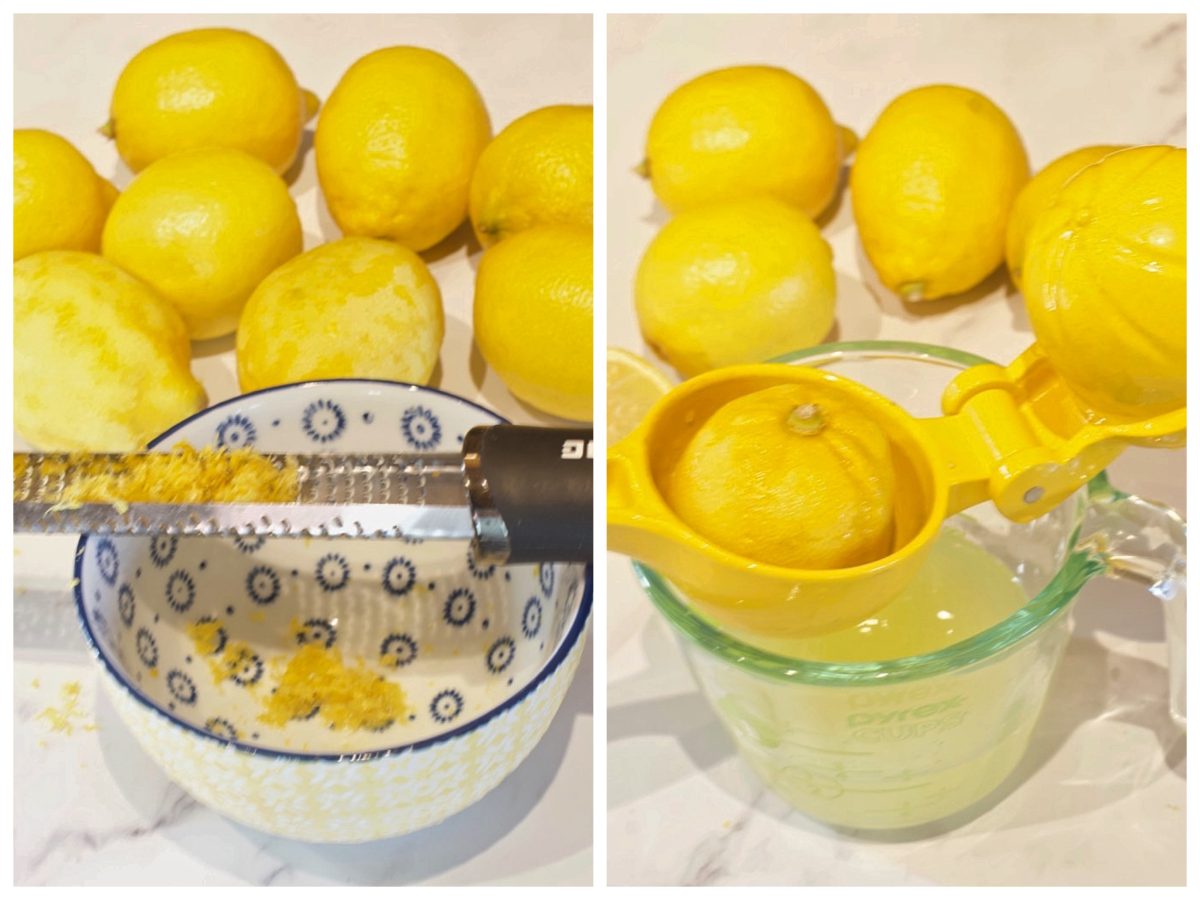
I started by zesting some lemons until I had 1 tablespoon of zest. Once I zested the lemons, I set the zest aside and cut the lemons in half. I juiced them, reserving 1/2 cup of lemon juice.
LemonTips:
- When zesting lemons, make sure to remove the yellow zest only, not the white pith. The zest is tart & lemony. The pith is very bitter.
- Always zest the lemons before juicing them. It’s hard to zest a juiced lemon.
MIXING & COOKING THE LEMON CURD
Note: The lemon curd can be made in advance. This recipe makes 2 cups. You will use 1/2 cup in the lemon mousse. Save the rest for topping pancakes, french toast, or practically anything!
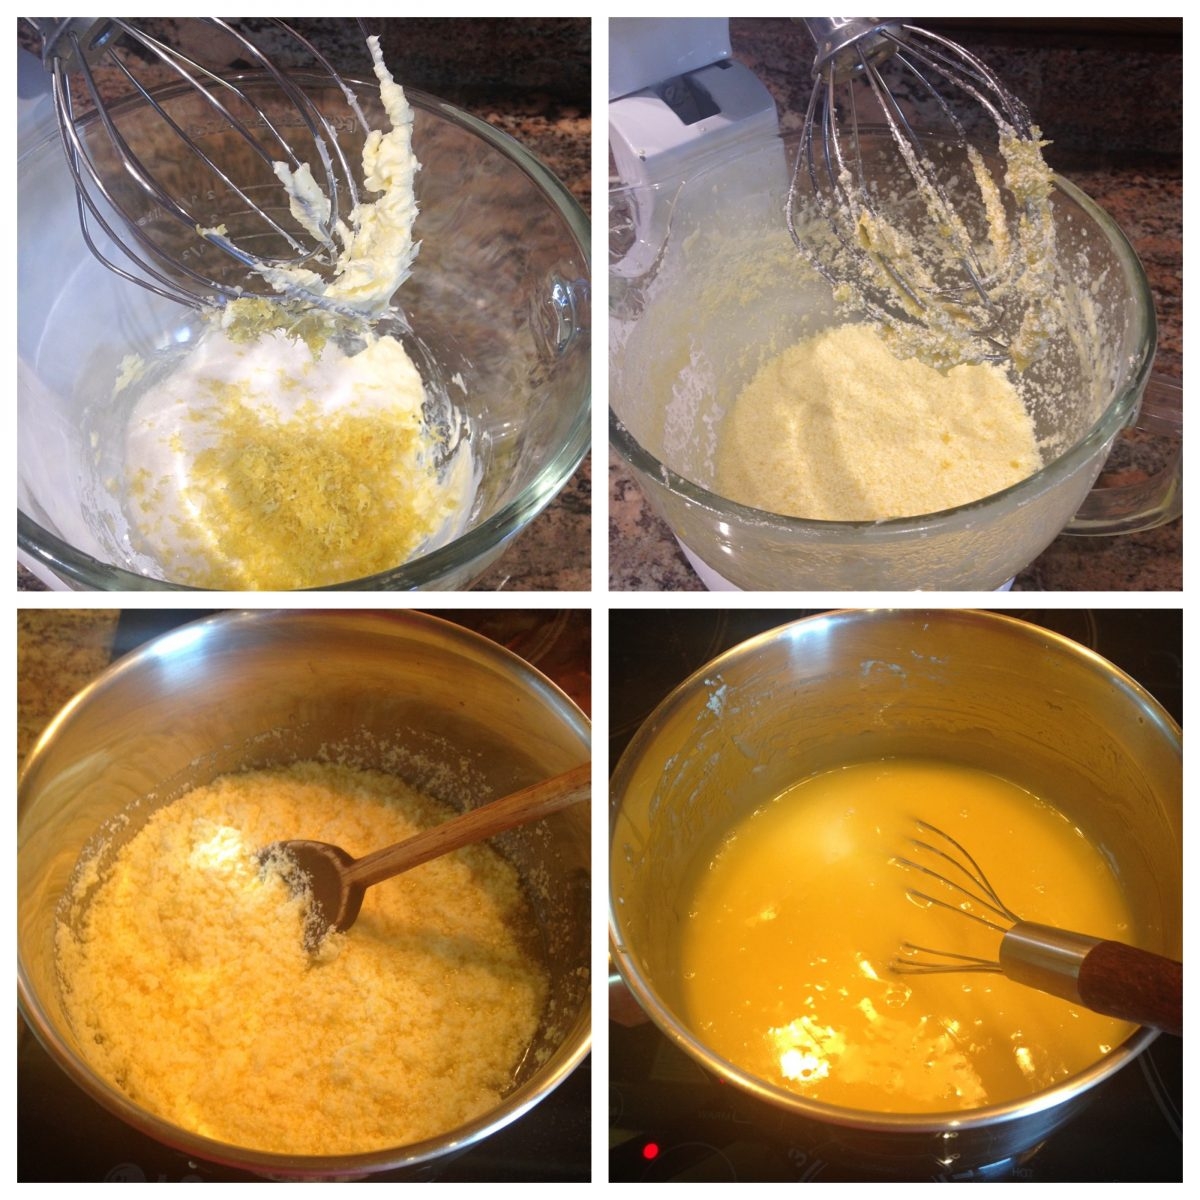
I started by creaming butter in the large mixing bowl of a stand mixer. I added sugar, salt & zest and mixed it together.
I added eggs, one at a time, to the mixing bowl. mixing well after each addition. Then I added some lemon juice and salt and mixed again.
I added the mixture to a medium saucepan and cooked it on low heat while stirring constantly until the mixture thickened. This took about 8 minutes. I removed it from the heat.
I spooned the hot lemon curd into a bowl and let it cool to room temperature. Then I placed a piece of plastic wrap directly on top of the curd to prevent a skim from forming on top, and I placed it in my freezer for a few minutes until it was very chilled.
COOKING THE FILLING
Here’s how I made the filling…
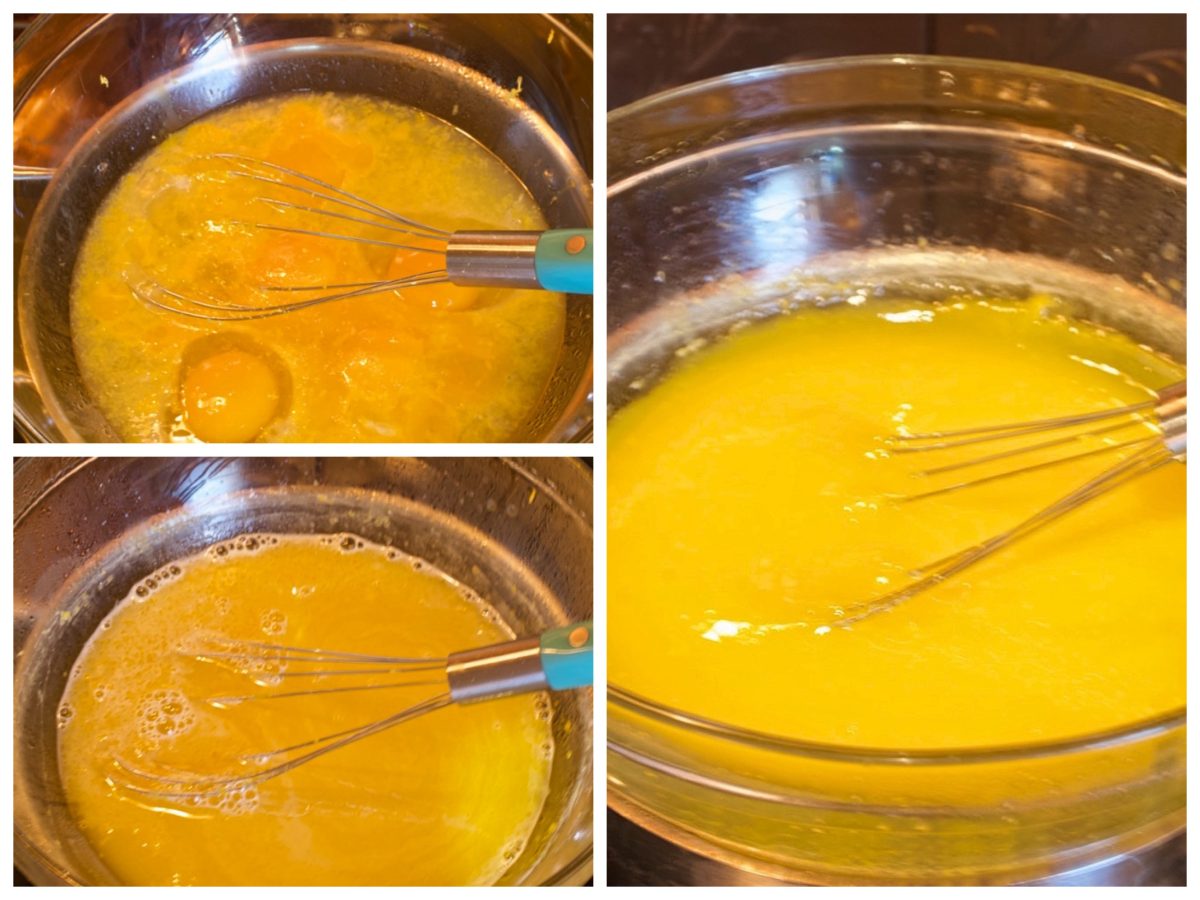
I started by adding eggs, egg yolks, sugar, lemon zest, lemon juice, and a pinch of salt to a large heatproof bowl. I placed the bowl over a pan of simmering water and cooked it while whisking constantly until the mixture thickened to the consistency of pudding. This took approximately 12 minutes.
I removed the bowl from the pan of water and allowed it to cool for about 15 minutes. I placed a piece of plastic wrap directly onto the filling and placed the bowl in my freezer for about 20 minutes until it was very chilled.
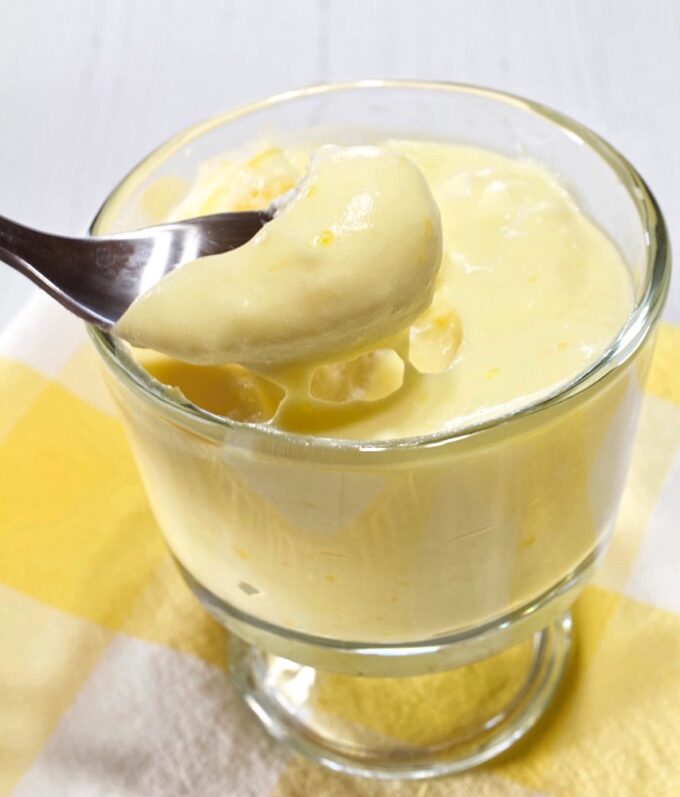
BEATING THE EGG WHITES AND COMBINING EVERYTHING
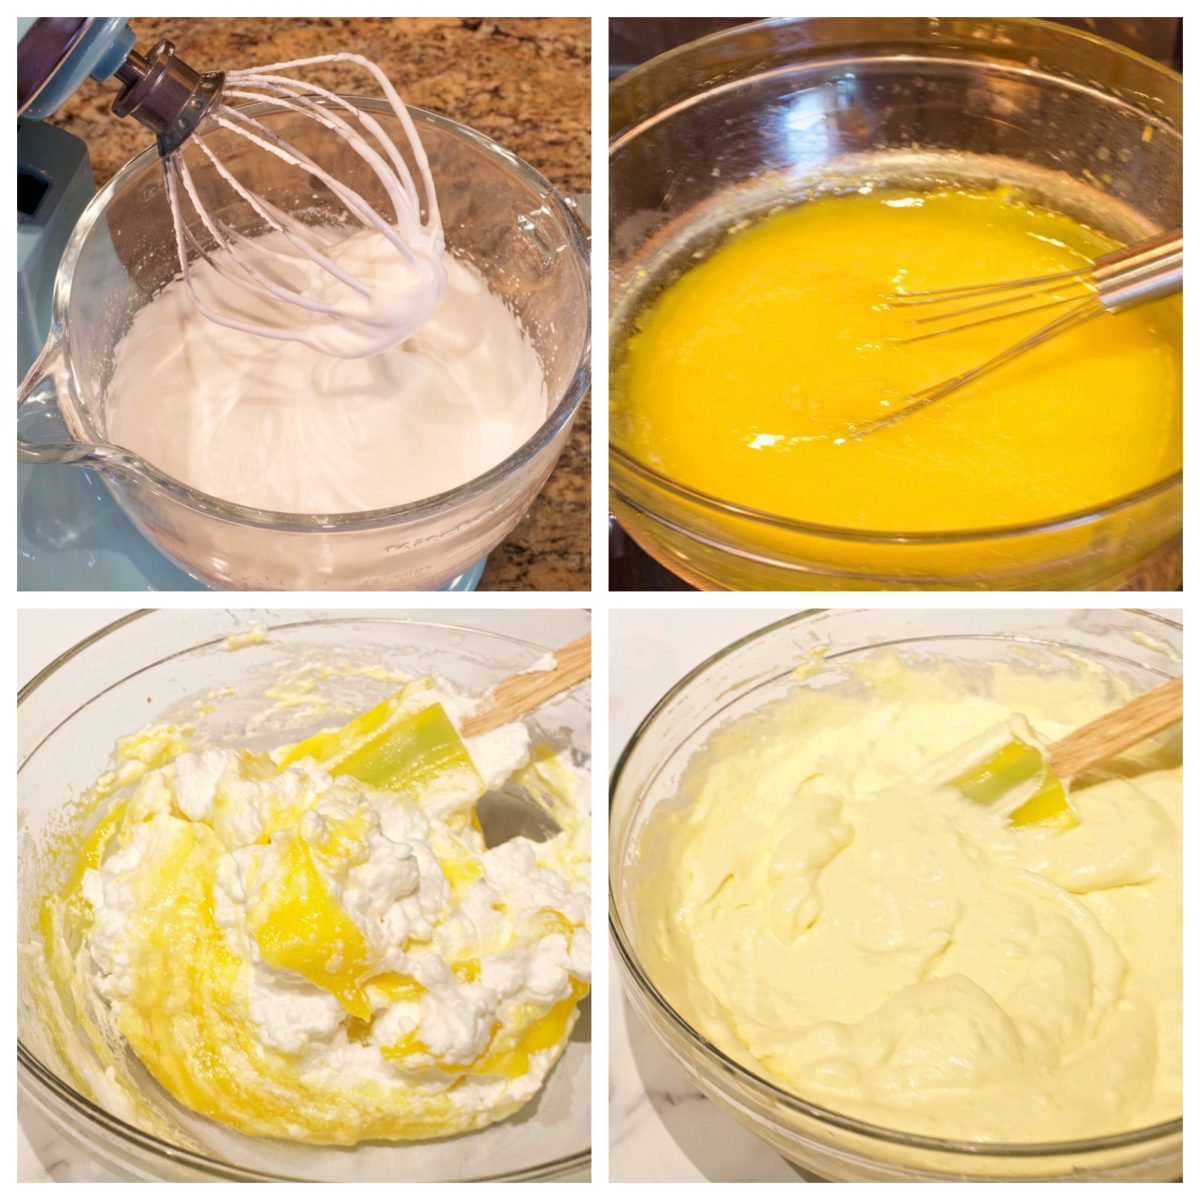
Beating the egg whites…
I added egg whites and a pinch of salt to the bowl of my stand mixer fitted with the whisk attachment. I beat them on high until the mixture started to form soft peaks, less than a minute. I added some sugar and continued to beat it on high speed until stiff peaks formed.
Combining everything…
I removed both the lemon filling and lemon curd from the refrigerator. I used a rubber spatula and gently folded the egg whites into the lemon filling. Then I gently fold in the lemon curd until all ingredients were combined. Then all I did was transfer the mixture to a souffle dish and I refrigerated it until I was ready to serve. When I was ready to serve it, I whipped up some whipping cream to garnish the top.
WHIPPED CREAM TOPPING (optional, but I highly recommend)
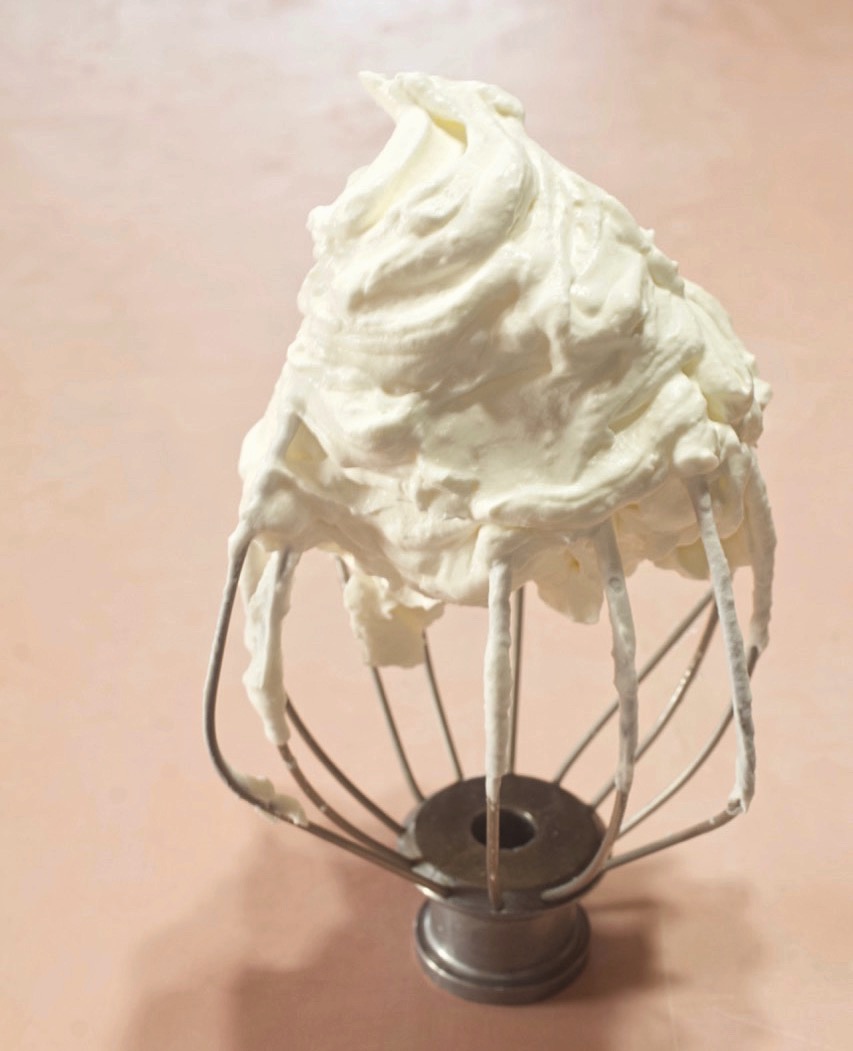
Whipping up some whipping cream takes just a couple of minutes and it is SO divine! All I did was add 1 cup of heavy whipping cream to the bowl of my stand mixer, fitted with the whisk attachment. I added a little bit of powdered sugar and vanilla and whisked it into soft peaks. That easy! With whipped cream, it’s up to you if you want soft peaks, medium or stiff…it’s all delicious!
Check out these other delicious lemon recipes…
Lemon Butter Shortbread Cookies
If you make this recipe please rate it, and leave a comment below on how you liked it. I love hearing from you!
Wanna see different recipes each day? Feel free to follow me on Facebook, Pinterest & Instagram.
Print
Fresh Lemon Mousse
- Prep Time: 30 Minutes
- Cook Time: 20 Minutes
- Total Time: 50 minutes
- Yield: 7 Servings 1x
- Category: Dessert
- Method: Cook
- Cuisine: American
Description
This Fresh Lemon Mousse, made with a combination of both homemade lemon curd and lemon filling, is the most delicious and flavorful Lemon Mousse that I’ve ever tasted. It’s luscious, creamy, smooth, perfectly tart, and over the top delicious!
Ingredients
HOMEMADE LEMON CURD (You can use storebought if you prefer)
- 1 stick unsalted butter, room temperature
- 1 cup granulated sugar
- 1 tablespoon fresh lemon zest
- Dash salt
- 4 large eggs
- 1/2 cup freshly squeezed lemon juice (about 4 lemons)
LEMON FILLING
- 3 large whole eggs
- 3 large eggs, separated
- 1 cup plus 2 tablespoons granulated sugar
- 2 teaspoons lemon zest
- 1/2 cup freshly squeezed lemon juice, about 4 lemons
- Salt
- 1 cup heavy whipping cream
- 1/2 cup homemade lemon curd, room temperature (recipe above)
WHIPPED CREAM GARNISH
- 1 cup heavy whipping cream, cold
- 1/3 cup powdered sugar
- 1/2 teaspoon pure vanilla extract
Instructions
HOMEMADE LEMON CURD
(Make the lemon curd first, and allow it to cool while making the lemon filling.)
- Zest the lemons, making sure to remove the yellow zest only, not the white pith. Set aside. Cut the lemons in half and juice them, reserving 1/2 cup of lemon juice and set aside.
- Cream the butter in the large mixing bowl of a stand mixer, or use a hand mixer. Add the sugar, salt & zest and mix well.
- Crack the eggs into a small bowl, using a spoon to remove the Chalaza from each egg yolk. (See notes below for more information on the Chalaza). Add the eggs one at a time to the mixing bowl, mixing well after each addition. Add the lemon juice and salt and mix to combine.
- Add the mixture to a medium saucepan. Cook on low heat, stirring constantly until mixture thickens, about 8 – 10 minutes. Remove from heat.
- Spoon lemon curd into a bowl and let cool to room temperature. Place a piece of plastic wrap directly on top of the curd to prevent a skim from forming on top. Cool to room temperature before adding to the lemon filling.
- Yield: 2 cups. Refrigerate leftover curd or freeze for future use. It’s also great with fresh fruit on pancakes.
LEMON FILLING
- To a large heatproof bowl, add the 3 whole eggs, 3 egg yolks, 1 cup of sugar, lemon zest, lemon juice and a pinch of salt. Whisk to combine. Place the bowl over a pan of simmering water (over medium heat), and constantly whisk until the mixture becomes thickened like pudding. This will take at least 12 minutes or so. Remove the bowl from the pan of water and allow it to cool for 15 minutes. Place plastic wrap directly on the surface of the filling and refrigerate for 1 to 2 hours, until completely chilled. I placed it in the freezer for about 20 minutes.
- Beat the egg whites: Add about 2/3 of the egg whites and a pinch of salt to the bowl of a stand mixer fitted with the whisk attachment, or use a hand mixer. Beat on high speed until mixture starts to form soft peaks. Add the 2 tablespoons of sugar and beat on high speed until stiff peaks form. Using a rubber spatula, carefully fold the egg whites into the chilled lemon filling, going under the filling and up the side of the bowl each time with the spatula.
- Beat the whipping cream: Using the same mixing bowl, (no need to wash it), add the whipping cream. Beat the whipping cream on medium-low speed until it starts to slightly thicken. (If you start on high, it will splatter everywhere). Turn to high and beat until the cream forms stiff peaks. Using a rubber spatula, fold the whipped cream into the lemon mixture.
- Gently fold the lemon curd into the lemon mixture. Transfer the mixture to a 7-inch diameter x 3-inch deep souffle dish. Chill for at least 1 hour.
WHIPPED CREAM GARNISH
- Add the whipping cream to the bowl of a stand mixer fitted with the whisk attachment, or use a hand mixer. Beat on medium-low speed until the cream is beginning to slightly thicken. Add the sugar and vanilla and beat on high speed until stiff peaks form.
- Transfer the whipping cream to a decorating bag fitted with your favorite piping tip and pipe dollops of whipped cream cream over the surface of the cold mousse, or use can use a spoon and place dollops on top or cover the entire surface.
- Optional: place small quarter slices of lemon between the dollops of whipped cream for garnish.
- Serve cold. Refrigerate leftovers for up to 5 days. Mousse can be frozen for up to 3 months. Do not garnish with whipped cream until the mousse is thawed and ready to serve.
Notes
- The Chalaza is that little white thing that’s attached to one side of the egg yolk. Most cooks, remove it from the egg yolk when making puddings and custards. For more information on the Chalaza, see my post titled “What is that nasty little white thing on my egg yolk”.
- Prep and cook times include making homemade lemon curd. (You can use store bought if preferred).
Homemade Lemon Curd
- Prep Time: 5 minutes
- Cook Time: 10 minutes
- Total Time: 15 minutes
- Yield: 2 cups 1x
- Category: Dessert
- Method: Cook
- Cuisine: American
Description
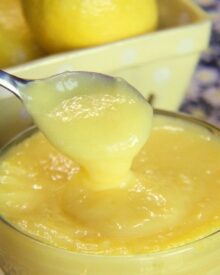
This Homemade Lemon Curd is perfectly tart and creamy. It’s loaded with fresh lemon zest and juice and can be used in SO many ways!
Ingredients
HOMEMADE LEMON CURD (You can use storebought if you prefer)
- 1 stick unsalted butter, room temperature
- 1 cup granulated sugar
- 1 tablespoon fresh lemon zest
- Dash salt
- 4 large eggs
- 1/2 cup freshly squeezed lemon juice (about 4 lemons)
Instructions
HOMEMADE LEMON CURD
- Zest the lemons, making sure to remove the yellow zest only, not the white pith. Set aside. Cut the lemons in half and juice them, reserving 1/2 cup of lemon juice and set aside.
- Cream the butter in the large mixing bowl of a stand mixer, or use a hand mixer. Add the sugar, salt & zest and mix well.
- Crack the eggs into a small bowl, using a spoon to remove the Chalaza from each egg yolk. (See notes below for more information on the Chalaza). Add the eggs one at a time to the mixing bowl, mixing well after each addition. Add the lemon juice and salt and mix to combine.
- Add the mixture to a medium saucepan. Cook on low heat, stirring constantly until mixture thickens, about 8 – 10 minutes. Remove from heat.
- Spoon lemon curd into a bowl and let cool to room temperature. Place a piece of plastic wrap directly on top of the curd to prevent a skim from forming on top. Refrigerate until ready to use.
- Yield: 2 cups.
Notes
The Chalaza is that little white thing that’s attached to one side of the egg yolk. Most cooks, remove it from the egg yolk when making puddings and custards. For more information on the Chalaza, see my post titled “What is that nasty little white thing on my egg yolk”.

Hai hai,
This lemondesert seems very tasty but since I’m Dutch I have not the faintest idea what : à stick unsalted bitter means. . À stick? Could you measure the amount of grams pleace?
With love, lily
Hi Lily, One stick is 4 ounces, 8 tablespoons, 1/2 cup, or 113 grams. Happy baking!
Thank you soooo Munch, never ever heard of it in my English lessons in The Netherlands.
You are SO welcome, Lily!!
I notice the egg whites are not heated prior to beating and adding to the soufflé! Did you use pasteurized eggs? Using raw egg whites is not a good idea these days. Thanks for clarification.
Hi Beth, I’ve never worried about eating raw egg whites. However, if you’re worried, simply heat the egg whites and 2 tablespoons of sugar over medium heat in a double boiler until the egg whites reach 160 degrees. Then slightly cool them and beat them.
I’m somewhat concerned abo a ut the raw egg whites used in this recipe. Isn’t that culinary no-no?
Hi Sparki, If you’re concerned about the egg whites, you can cook the egg whites and sugar over medium heat until the sugar is no longer grainy. The egg whites will cook enough to be safe, then whip them as directed in the recipe. I’m personally not afraid of raw egg whites. I’ve been eating them for many years, but I understand some people have concerns. I hope this helps!
Wow I usually don’t take too much notice of the notes before the actual recipe but even if you are not a experienced cook, your directions and tips are brilliant. The recipe totally works.
Hi Carolann, Thank you so much for the kind words! 🙂