Hot Chocolate Cake
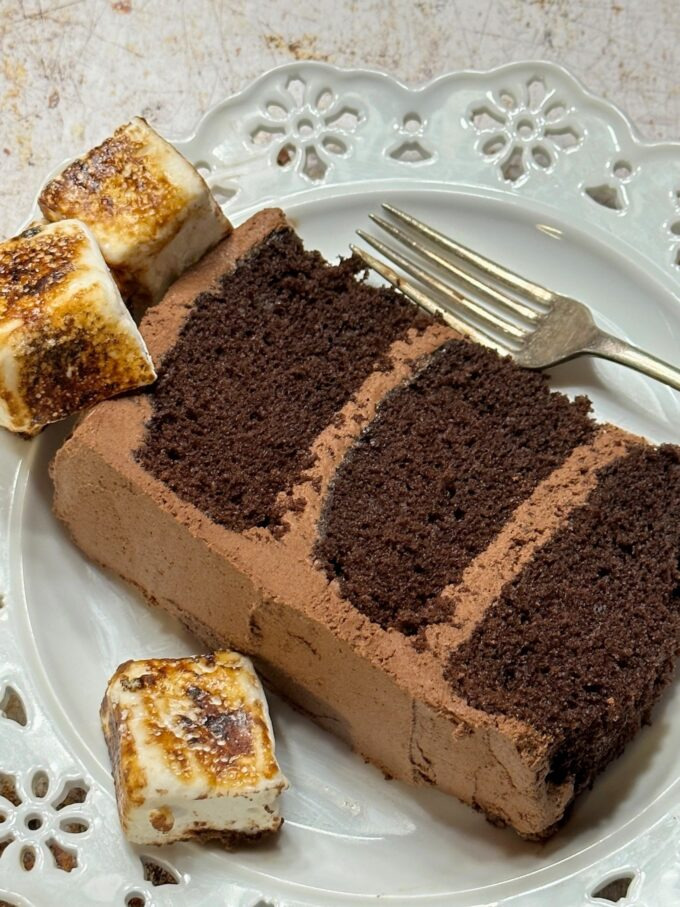
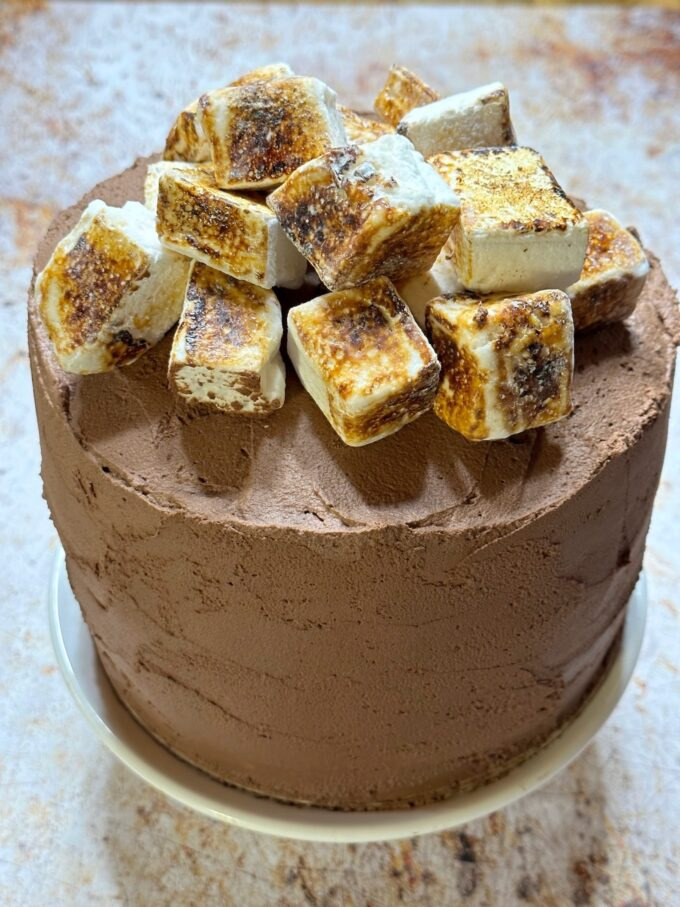
This Hot Chocolate Cake is is made with pure dark chocolate, frosted with a decadent chocolate ganache, and finished with a pile of homemade toasted marshmallows. Such a show-stopping dessert and a chocolate lovers dream!
Packed full of rich cocoa powder, butter, oil, and buttermilk, this cake has a delicious moist crumb. It’s also a show-stopping cake to make for any occasion.
Star Ingredients
Dutch Processed Cocoa Powder – This cocoa powder is less acidic than regular cocoa powder. It gives the cake the most delicious chocolatey flavor. See this great article on how to pick the best cocoa.
Buttermilk – Buttermilk adds moistness to the cake, giving it a soft and moist crumb.
Oil – Oil adds moistness and keeps the cake moist longer.
Butter – Butter adds flavor. Umm…butter and chocolate. Oh yes!
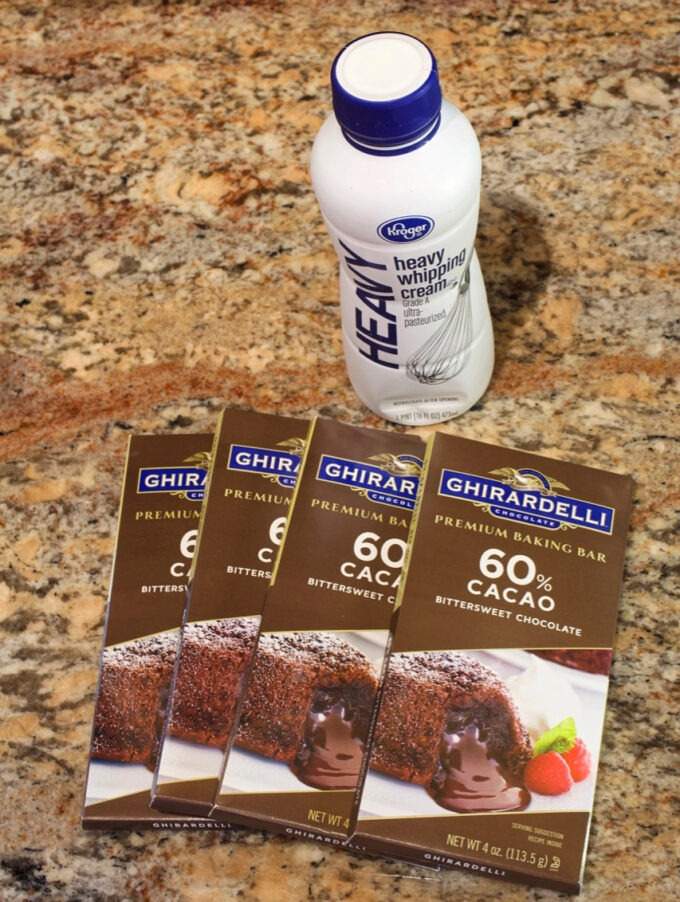
Heavy Whipping Cream – It’s important to use heavy whipping cream for the whipped chocolate ganache. Don’t use low-fat. The ganache will not set up correctly if you use low-fat.
Good Quality Dark Chocolate – Make sure to use good quality chocolate such as Ghirardelli 60% cacao for the whipped chocolate ganache.
First Things First
You’re making a chocolate cake, so don’t flour those cake pans. Line the pans with parchment or waxed paper, then butter the paper and insides of pans. Lastly, sprinkle them with cocoa powder, tapping out the excess. You can save the flour for a vanilla cake. This recipes uses three 8-inch cake pans.

Mixing the Hot Chocolate Cake Batter
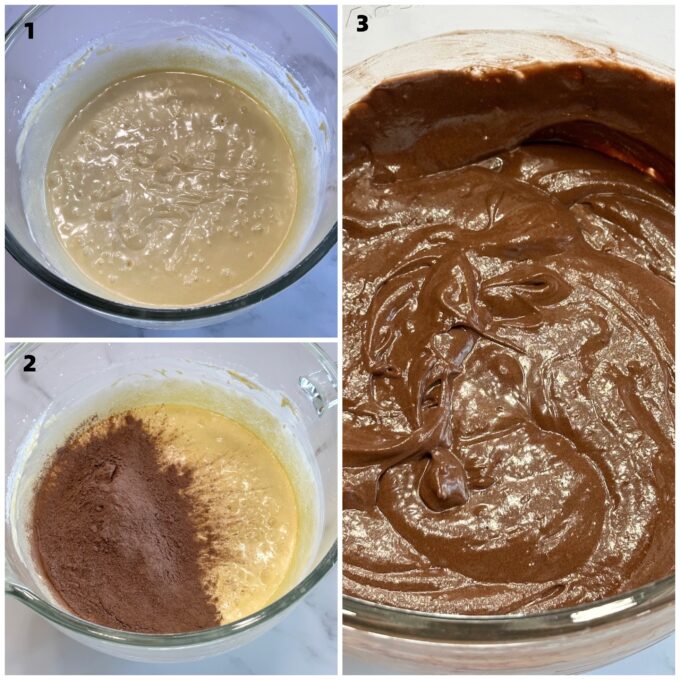
- Add the butter to the bowl of a stand mixer fitted with the paddle attachment. Beat the butter until creamy. Add the sugar, oil and vanilla extract, and beat the for about 5 minutes until the mixture is very light and fluffy looking. Add the eggs and egg yolks, one at a time, mixing well after each addition.
- Sift together the dry ingredients. Add the dry ingredients alternately with the buttermilk to the wet mixture.
- Mix only until the dry ingredients are incorporated. Don’t over mix.
How to make whipped chocolate ganache
Whipped Chocolate Ganache is made with two simple ingredients…
- Heavy whipping cream
- Good quality chocolate (don’t use chocolate chips). Chocolate chips contain stabilizers that make them more resistant to melting.
It’s so easy to make…
- Simply bring the whipping cream just to a simmer.
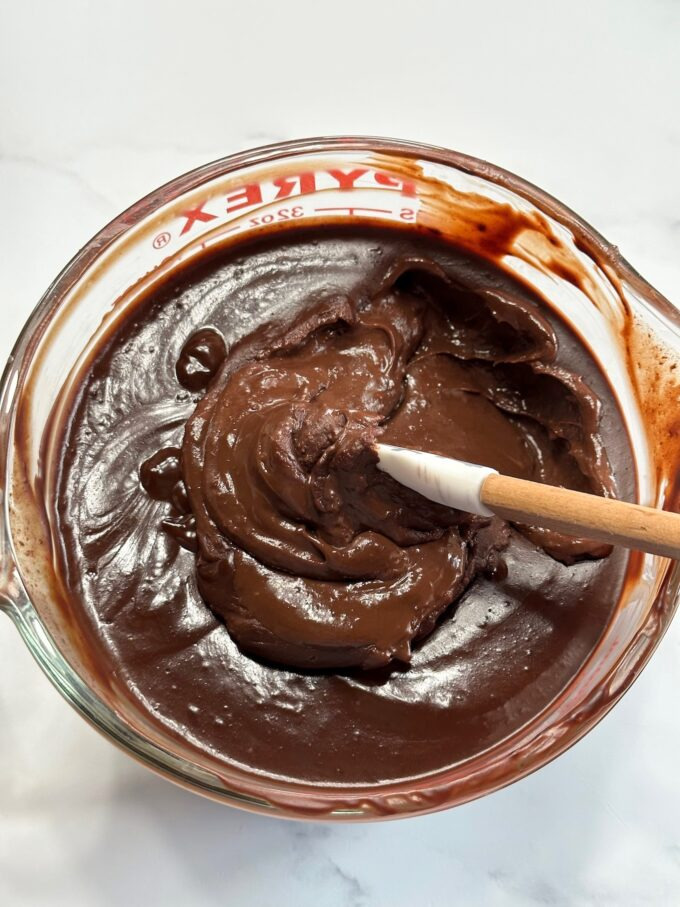
- Chop the chocolate and add it to the cream. Allow it to sit for about 3 minutes.
- Using a spatula, slowly mix the chocolate and whipping cream together, using your spatula to go under the mixture and back up and around the sides of the bowl. It will take about 2 to 3 minutes before the chocolate and whipping cream are thoroughly mixed together.
- Allow the chocolate ganache to completely cool. I place it in the fridge for about 30 minutes or so. It should start to take on the consistency of thick custard. However, if you leave it in the refrigerator for too long it will separate. See my notes below on how to fix it.
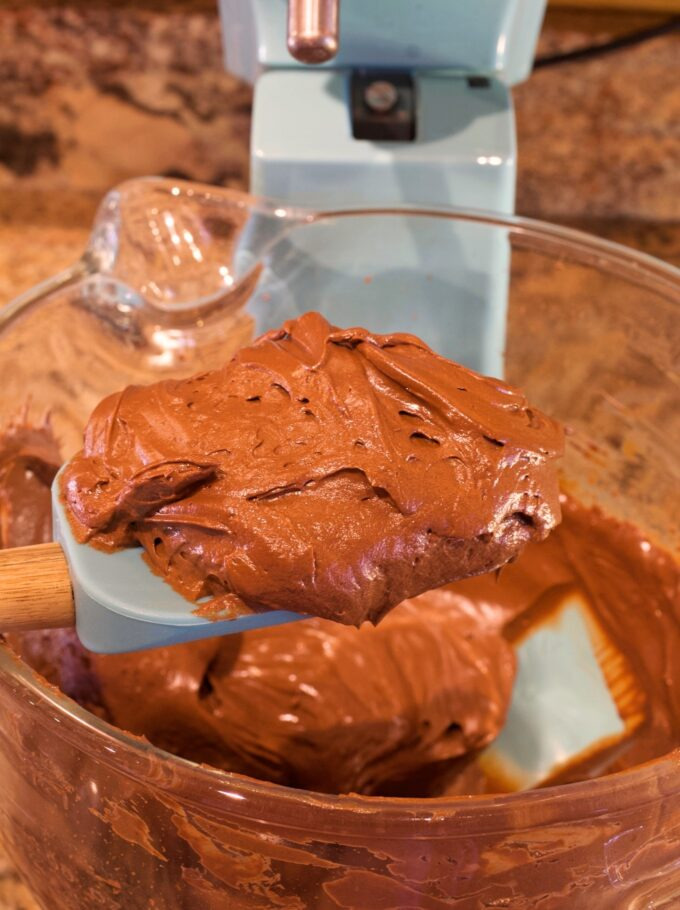
- Transfer the chocolate ganache to a large mixing bowl of a mixer fitted with the whisk attachment. Whisk on medium-high speed for about 4 minutes until the ganache becomes lighter in color and has thickened. It will take on a sheen-like appearance instead of shiny.
Refrigerated ganache…custard like consistency
Whipped chocolate ganache…the final step

HOW TO FIX BROKEN GANACHE
If you leave your ganache in the refrigerator and forget about it for a couple of hours, it very well might be separated/broken when you get ready to whip it.There are a few ways to fix a broken ganache. I’ll share them with you and tell you which one is my favorite.
Option #1: If you just made the ganache and it’s still warm, you can add a little more chopped chocolate to it and bring it back together rather quickly. However, beware more chocolate equals a thicker ganache.
Option #2: Whisk the ganache with an electric mixer on high speed until it brings it back together. This is not my favorite. I have tried this a few times with no success.
Option #3: (my favorite) Add about 2 tablespoons of heavy whipping cream to a saucepan and allow it to steam only. Remove it from the heat and start whisking in the broken ganache a little at a time. Once it’s all incorporated, whisk until smooth. I often place chocolate ganache in the refrigerator to cool then tend to forget about it for an hour or longer. When I finally get it out of the refrigerator it has become broken. I simply use this option to fix it.

Let’s talk about those marshmallows
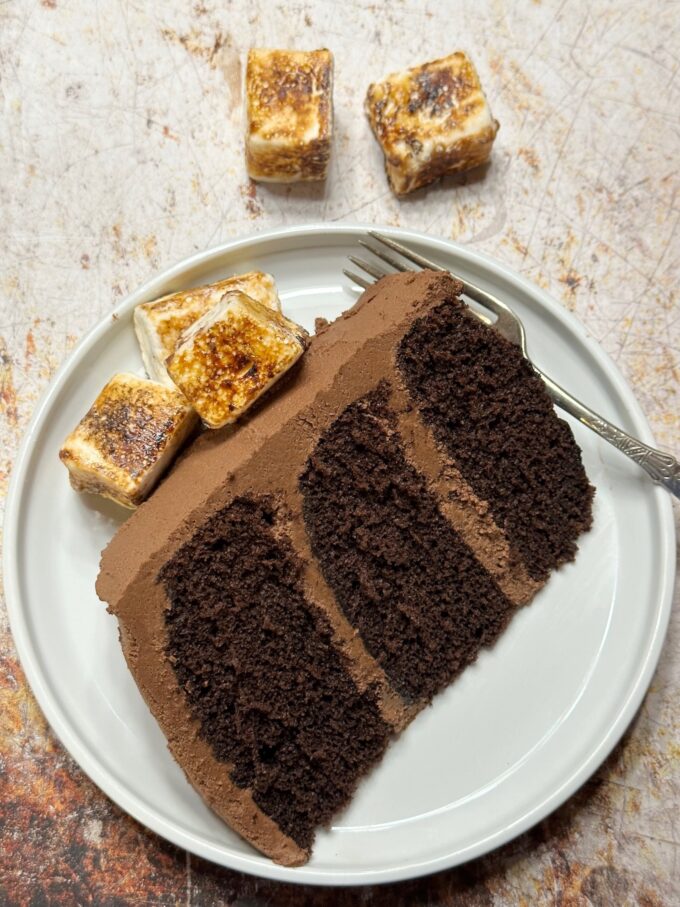
I made a batch of my homemade vanilla marshmallows. Trust me they’re so easy to make! Then I used a kitchen torch to toast them, and I piled them on top of the frosted cake. If you don’t want to make homemade marshmallows, feel free to use store-bought.
Pro tips for making this recipe
- Measure your flour correctly. A common mistake by many bakers… if you over measure your flour you will have a dry cake. If you have a scale use it. If you don’t have a scale, use a large spoon to fluff up the flour in your container. Spoon the flour into your measuring cup and level it off with a knife (spoon and level method).
- Use cocoa (not flour) to coat your cake pans. We’re making chocolate cake here, not vanilla.
- Use a good quality chocolate for the chocolate ganache, such as Ghirardelli 60% cacao. DON’T USE CHOCOLATE CHIPS. I love Ghirardelli. It’s so smooth and crunchy. It snaps perfectly when you break it, and it’s not sugary. It’s has an excellent pure chocolate flavor.
- Use a good quality cocoa powder. Cheap cocoa powders contain more starch and less butterfat, leaving baked goods tasting dry. As I mentioned above, you should check out this great article from Cooks’ Illustrated on choosing the right cocoa.
- Don’t use more chocolate than the recipe calls for. If you prefer a darker chocolate cake, then use a darker chocolate with more cacao, but don’t increase the chocolate called for in the recipe. Depending on which chocolate you use, it can suck the moisture from your cake.
- Try to use full-fat buttermilk if possible for this recipe. If you don’t have buttermilk, make a substitution by adding 1 tablespoon of vinegar or lemon juice to a cup of whole milk and allow it to sit for 5 minutes.
- Check the expiration dates on your baking powder and baking soda. If they’re expired, your cake won’t rise. Click here to see how to test them.
- Don’t over bake your cake. Do a toothpick test. If it’s

If you love chocolate cake, you might also like my Chocolate Sheet Cake recipe.
If you make this recipe, please give it a rating and leave a comment below on how it turned out. I love hearing from you!
Wanna see different recipes each day? Feel free to follow me on Facebook, Pinterest, & Instagram.
Print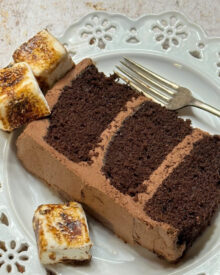
Hot Chocolate Cake
Description
Made with simple ingredients, this moist and delicious cake is a real show-stopper. Make it for a special occasion and impress your guests.
Ingredients
FOR THE CAKE
- 2 cups all-purpose flour, spoon and leveled
- 3/4 cup Dutch-processed cocoa
- 1 1/2 teaspoons baking powder
- 1/2 teaspoon baking soda
- 1/2 teaspoon salt
- 1/2 cup (1 stick) unsalted butter, room temperature
- 2 cups granulated sugar
- 1/2 cup canola or vegetable oil
- 1 teaspoon pure vanilla extract
- 3 large eggs, room temperature
- 6 large egg yolks, room temperature
- 1 cup full-fat buttermilk, room temperature
- cocoa for dusting pans
- butter for greasing pans
FOR THE WHIPPED CHOCOLATE GANACHE
- Four 4-ounce bars of good quality chocolate, finely chopped
- 2 cups, heavy whipping cream
Instructions
FOR THE CAKE
- Preheat oven to 350 degrees. Line three 8-inch round cake pans with waxed or parchment paper. Butter the paper and the sides of each pan. Lightly sprinkle cocoa over the bottom and sides of each pan and set aside.
- Add the butter to the bowl of a stand mixer fitted with the paddle attachment. Beat the butter on medium speed for about 1 minute until it’s fairly creamy.
- Add the sugar, oil and vanilla extract. Beat the mixture on medium speed for about 5 minutes until the mixture is very light and fluffy looking and the sugar no longer feels real grainy. Stop about half way through and scrape down the sides of the bowl.
- Add the eggs and egg yolks, one at a time, mixing well after each addition, to make sure it’s totally incorporated before adding the next one. Scrape down the sides of the bowl after each addition.
- Reduce the mixer to low speed and add 1/3 of the dry ingredients, stopping to scrape down the sides and mixing just to incorporate. Add 1/2 of the buttermilk, mixing just until combined. Repeat with an additional 1/3 of the dry ingredients, followed by the second half of the buttermilk and finally the last 1/3 of the dry ingredients. Stop and scrape down the sides of the bowl and run your spatula under the paddle attachment. Give the paddle a couple of mixes and stop. It’s important to not over mix cake batter once you add the dry ingredients.
- Divide the batter equally between the 3 prepared cake pans. Shake the pans gently, then use an offset spatula to finish smoothing out the tops. Tap each pan on a counter 2 to 3 times to remove any air bubbles.
- Bake the cake layers until a toothpick test comes out clean, about 30 minutes. Allow the cakes to cool in the pans for 10 minutes. Run a knife around the edges and gently shake each pan up and down to ensure the cake is loose from all sides. Invert the cakes onto a wire rack to finish cooling.
- If you’re not going to frost the cake layers until the next day, once they’re completely cooled, securely wrap them in plastic wrap and leave at room temperature.
FOR THE WHIPPED CHOCOLATE GANACHE
- Add the whipping cream to a medium size microwavable bowl. Heat the whipping cream in a microwave until it just begins to simmer. There should be small bubbles forming around the edges. Do not allow the cream to boil.
- Add the chopped chocolate to the hot whipping cream. Allow the mixture to sit without stirring for about 3 minutes. Using a rubber spatula, slowly blend the chocolate into the cream until the chocolate has completely melted and is totally incorporated into the cream. This will take 2 to 3 minutes. I run the spatula across the underneath of the mixture and slowly come up the sides and into the middle, turning the spatula as I do. When the chocolate and whipping cream are well combined the result will be a dark shiny chocolate mixture. At this point you have now made chocolate ganache! Now take it one step further and turn it into whipped chocolate ganache.
- Allow the chocolate ganache to completely cool. I place it in the refrigerator to speed up the cooling process. Refrigerate for 15 minutes. Remove and stir it a few times with a spatula and return to the refrigerator. Allow it to chill for 15 additional minutes and check it again. Once the ganache is completely cool, transfer it to the mixing bowl of a stand mixture or hand mixer fitted with the whisk attachment. Beat on medium-high speed until the ganache becomes light in color and thick and creamy. It will also have more of a sheen instead of a glossy appearance.
- Refrigerate until ready to use. Gently mix the ganache a few times with a spatula before using.
- Use the ganache to frost a two-layer cake or up to 24 cupcakes. Refrigerate until about 30 minutes before serving. Once the ganache sits out it will stay stable for several hours. However, I don’t recommend leaving it out that long since it contains cream.
So schade das das Rezept nicht auch in Gramm Angaben angeben ist, der Kuchen sieht so lecker aus!
Viele Grüße,
Jesse-Gabriel
Oh, ich sehen gerade das ja doch eine Umrechnungsfunktion da ist, entschlüge!
Jesse-Gabriel