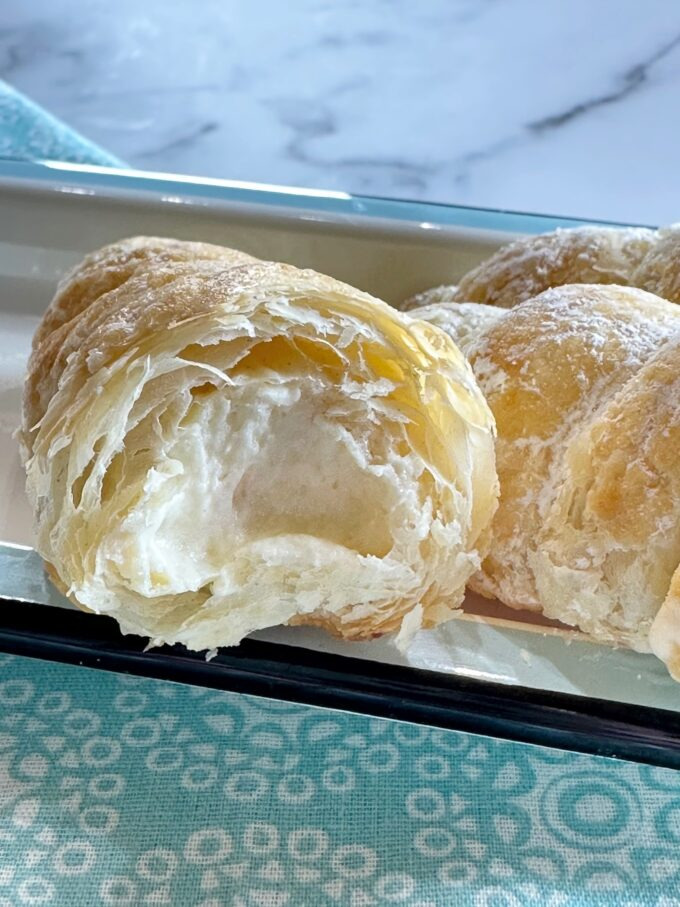
Cream Horns
These Cream Horns are made with buttery puff pastry, resulting in a crispy flaky pastry horn, and they are filled with freshly whipped whipping cream. However, you can fill them with any filling you like.
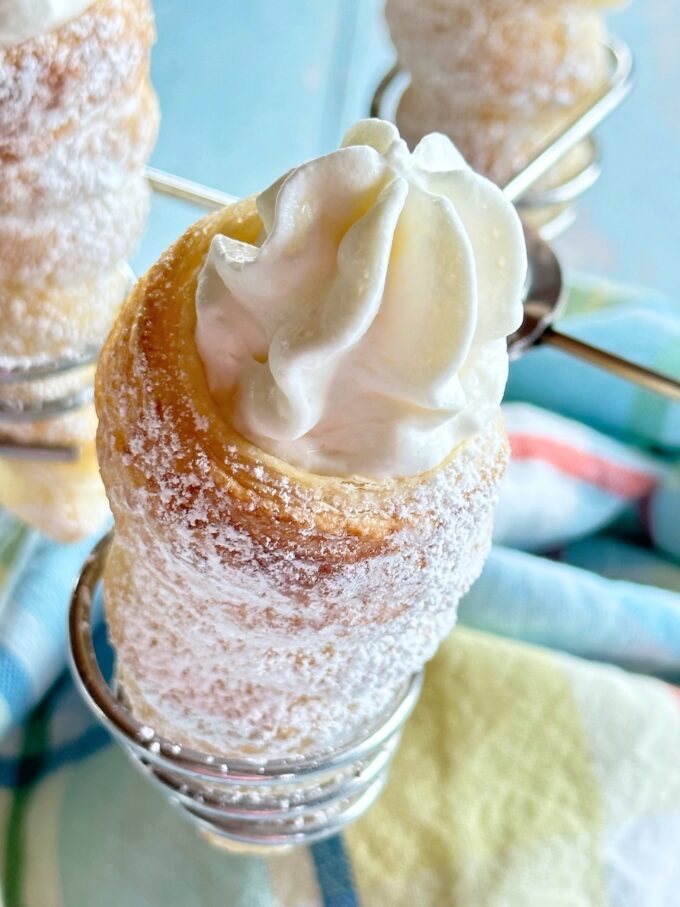
Cream Horns are one of the easiest desserts you will ever make. Buy a box of store bought puff pastry and you’ll be making these delicate, crispy puff pastry horns in no time. They will also disappear in no time!
HOW TO WRAP THE CREAM HORN MOLDS
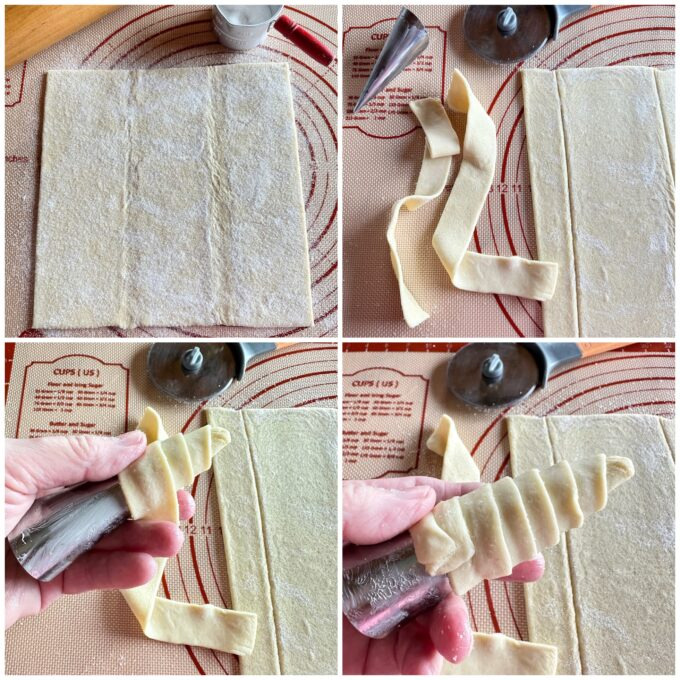
- Remove one sheet of thawed puff pastry from the refrigerator. Gently open the folds. If they don’t easily open, allow the puff pastry to sit for about 5 minutes and try to unfold it again.
- Using a pizza cutter or sharp knife, cut the dough along the 3 folds into 3 equal pieces. Then cut each of the 3 pieces into 3 long strips. You should have 9 long strips.
- Wrap each strip around a mold, starting at the pointed end and overlapping each layer. (see pictures above). When you get to the end, gently press the end into the last layer of pastry to prevent it from coming loose in the oven.
- Lastly, gently press the tip end closed if it’s open.
BAKING THE CREAM HORNS

- Place each pastry mold, seam side down on a baking sheet lined with parchment paper or a silicone mat. I like to use a silicone mat, because it prevents the molds from rolling around. Make sure to space them apart as much as possible.
- Whisk together the egg and water and brush it on each of the pastry molds.
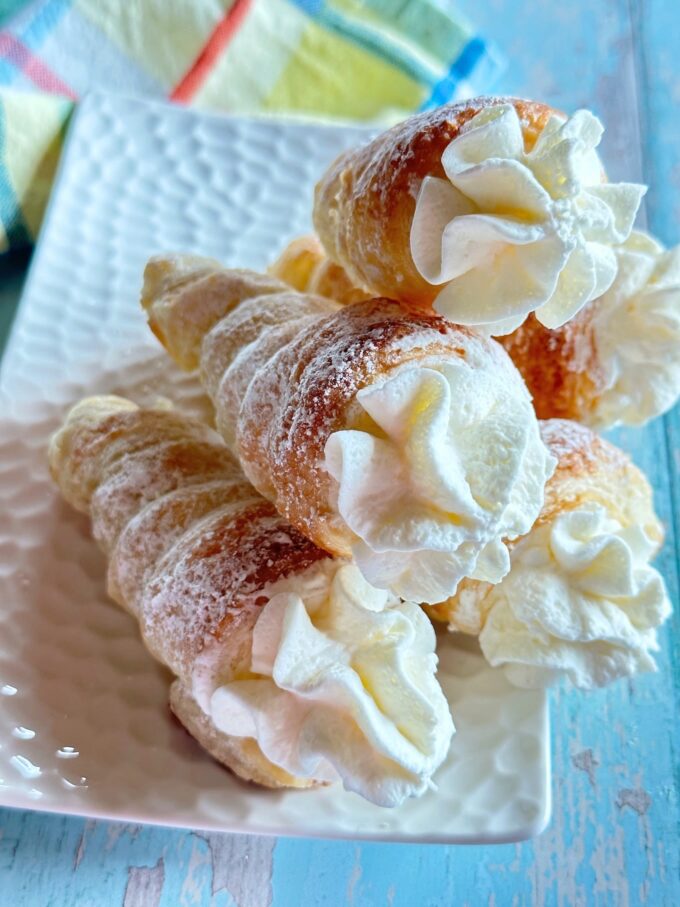
- Bake the cream horns for about 15 minutes until they are golden brown on top. Remove them from the oven, slide out the metal horns, and sprinkle generously with powdered sugar.
How to make disposable cream horn molds – 2 ways
If you don’t have the metal molds, you can make your own.
- Tear off sheet of foil, about 8 to 9 inches long. Fold each one in half and roll it into a cone shape.
- Or, buy a box of cone shaped ice cream cones, and wrap foil around the cones.
HOW TO MAKE STABILIZED WHIPPED CREAM
You don’t have to make stabilized whipped cream for this recipe. However, in case you want to, I will show you how super easy it is. Stabilized whipped cream holds up a lot longer than regular whipped cream.

- Add 1 teaspoon of unflavored gelatin and 4 teaspoons of water to a tiny microwave safe bowl, and mix them together. Set aside for 3 to 4 minutes. Microwave the mixture until the gelatin has dissolved. This only takes a few seconds. Stir it with a spoon and set it aside to cool while you whip the whipping cream.
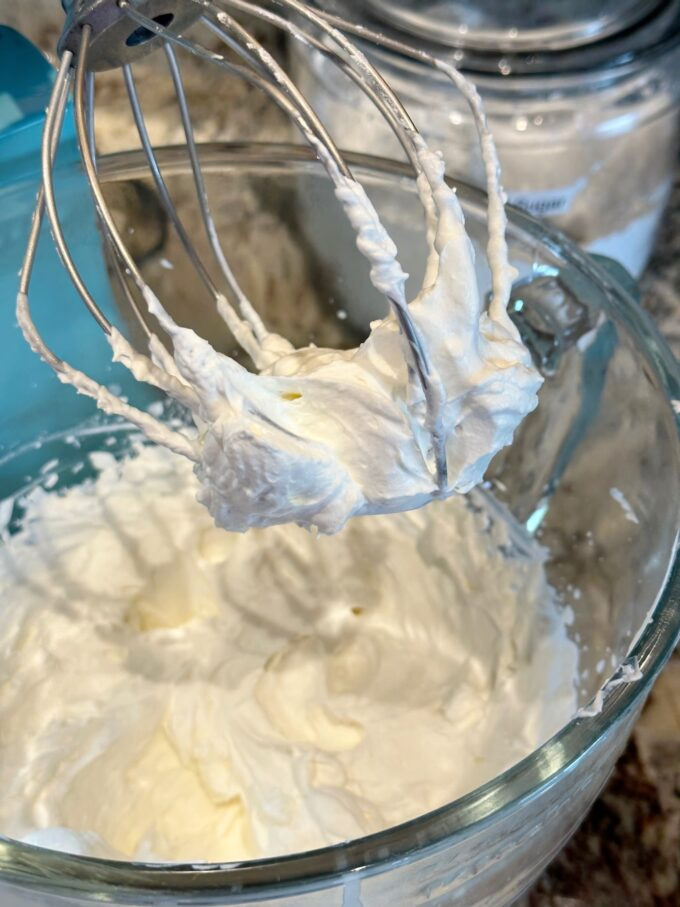
- Once you whip the cream to soft peaks, add the gelatin and continue whisking until you have stiff peaks.
Other fillings
If you don’t want to fill your pastry cones with whipped cream, you can fill them with your favorite pastry cream, custard filling, added chocolate, or just about anything you like.
If you happen to like the filling that’s in most grocery store/bakery cream horns, here it is,
- 1 cup solid Crisco shortening
- 1 cup real butter, unsalted
- 4 cups powdered sugar, sifted
- 1 tablespoon pure vanilla extract
- 3/4 cup marshmallow creme
Cream the shortening and butter together. Add the powdered sugar, one cup at a time, followed by the vanilla and marshmallow creme. This one doesn’t have to be refrigerated.
If you make this recipe, please rate it below and leave a comment on how it turned out. I love getting your feedback. 🙂
Follow me on Pinterest, Facebook, and Instagram, for different recipes each day!
Print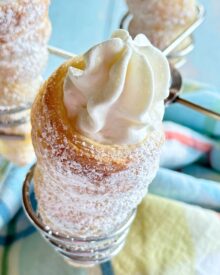
Cream Horns
- Prep Time: 20 minutes
- Cook Time: 15 minutes
- Total Time: 35 minutes
- Yield: 9 1x
- Category: Dessert
- Method: Bake
Description
These flaky puff pastry cones are filled with fresh whipped cream. They take no time to make, and they’re also delicious filled with pastry filling. They take no time to make, so go ahead and make two batches!
Ingredients
CREAM HORNS
- 1 sheet puff pastry, thawed but cold ( I use store-bought Pepperidge Farm puff pastry)
- 1 egg
- 1 tablespoon water
- Powdered sugar for dusting cream horns
STABILIZED WHIPPED CREAM FILLING
- 1 teaspoon unflavored gelatin
- 4 teaspoons water
- 1 cup heavy whipping cream
- 1 cup powdered sugar, sifted
- 1 teaspoon pure vanilla extract
Instructions
CREAM HORNS
- Preheat oven to 400 degrees.
- Lightly butter or spray 9 metal cream horn molds and set them aside. If you don’t have molds, see my post above on how to make your own.
- Remove one sheet of thawed puff pastry from the refrigerator. Gently open the folds. If they don’t easily open, allow the puff pastry to sit for about 5 minutes and try to unfold it again.
- Using a pizza cutter or sharp knife, cut the dough along the 3 folds into 3 equal pieces. Then cut each of the 3 pieces into 3 long strips. You should have 9 long strips.
- Wrap each strip around a mold, starting at the pointed end and overlapping each layer. (see pictures above). When you get to the end, gently press the end into the last layer of pastry to prevent it from coming loose in the oven.
- Place each pastry mold, seam side down on a baking sheet lined with parchment paper or a silicone mat. I like to use a silicone mat, because it prevents the molds from rolling around. Make sure to space them apart as much as possible. Whisk together the egg and water and brush it on each of the pastry molds.
- Bake the pastry for about 15 minutes until the tops are golden brown. Slide the metal molds out of each pastry horn, being careful, they will be hot. Transfer the pastry horns to a wire rack. Dust them generously with powdered sugar. Some of the sugar will melt into the pastry horn. Leave them to completely cool while you make the whipped cream.
STABILIZED WHIPPED CREAM FILLING
You don’t have to use stabilized whipped cream, but I highly suggest it if you want it to hold its shape for long. I used unflavored gelatin to stabilize the whipped cream. You can also use a tablespoon of dry milk.
- Add the gelatin and water to a tiny microwave safe bowl, and mix them together. Set aside for 3 to 4 minutes. Microwave the mixture until the gelatin has dissolved. This only takes a few seconds. Stir it with a spoon and set it aside to cool while you whip the whipping cream.
- Add the whipping cream, powdered sugar, and vanilla, to the bowl of a stand mixer fitted with the whisk attachment. Whisk the mixture on medium speed until it begins to be foamy, then turn the mixer to medium-high and beat until soft peaks form. Turn the mixer to low and mix in the gelatin. Turn the mixer to medium high and whisk until stiff peaks form.
- Attach a pastry tip to a piping bag, (I used an open star tip) and fill the horns. I fill them about an inch above the rim of the horn.
- Serve immediately. If you’re wanting to serve them later in the day or the next day, place the bowl of whipped cream in the fridge and fill them when you’re ready to serve. The cream horns will hold up for a day in the fridge after being filled, but they will start to lose their crispiness after that.
Notes
- See tips above on how to make your own homemade molds if you don’t have the metal ones.
All I have to say is “thank you”! I live cream horns and had no idea how to make them. I made the stabilized whipped cream and they come out perfectly. I’ve made them twice already and this is a keeper!
I’m so happy they turned out great for you! 🙂
Have you used salted butter for the pastry cream?
Hi Alisha, No, but if that’s all you have, go ahead and use it.
These are delicious and so much better than store bought! But how do you keep them from unrolling during baking? I buttered the molds, overlap the strips and press the end into the ending strip, laying seam down to bake, yet a couple still unroll in the oven and aren’t nice little horns.
Hi Susan, Try brushing the end with water or some egg white before pressing it onto the dough.
SO much better than store bought!